Back-to-School Sugar Cookie Designs — Pencils, Apples and a School Bus
Back-to-school cookies have a scheduling problem built into them. They are needed on a specific morning, usually the first one, in a week when nothing else in the house is running smoothly. Royal icing does not care about any of that and will take the drying time it takes.
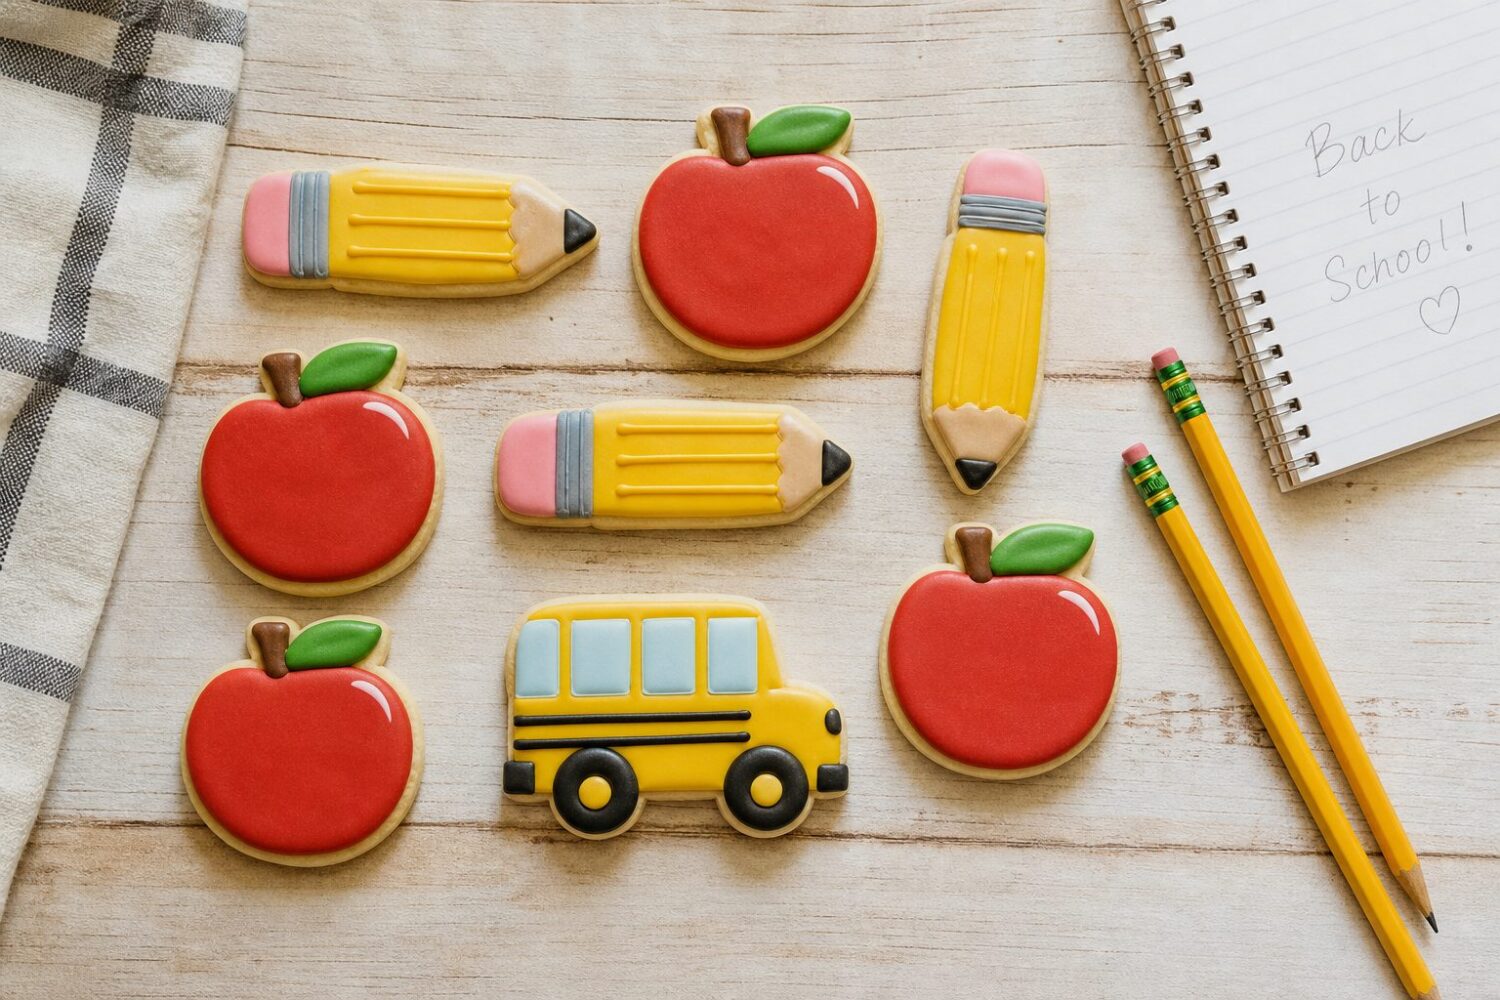
So the useful version of this set is not the most elaborate one. It is three designs that share one icing batch and four colours, and a plan that splits the work across two evenings so nothing is still tacky at seven in the morning. Pencils, apples and a school bus, in that order of difficulty.
The techniques here are the same three that decide every decorated cookie: icing consistency, piping order and drying time. The main cookie designs guide covers all three in depth; this set is where they get applied to a deadline.
Why Pencils First
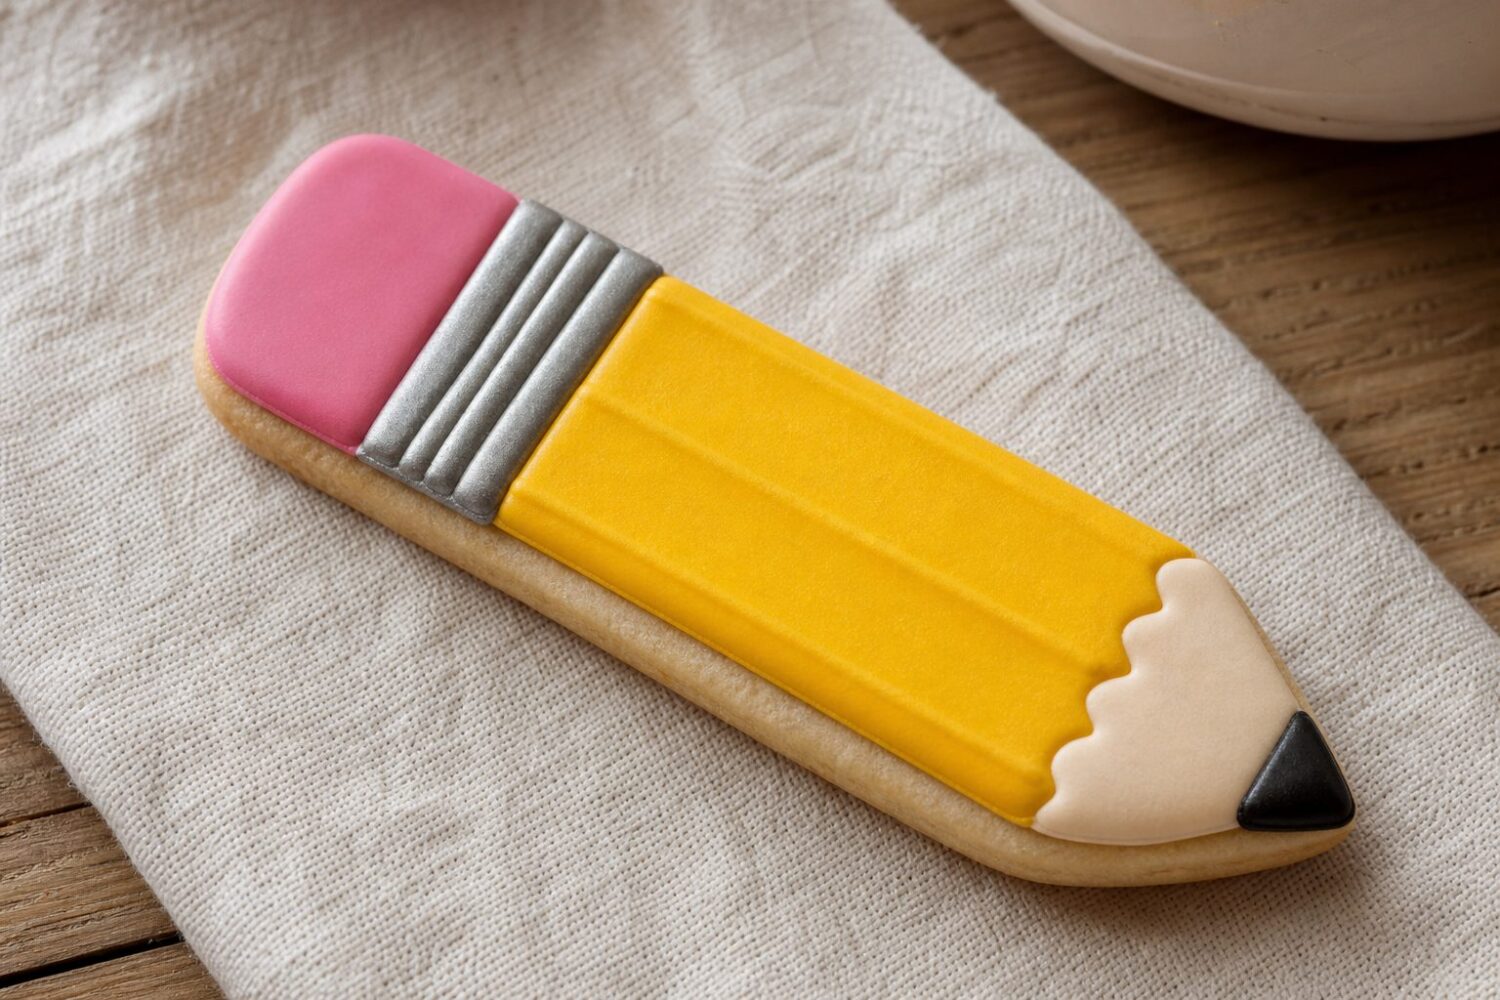
A pencil is a rectangle with a triangle on one end, which makes it the most forgiving shape in the set and the right place to warm up. It is also the design where a wobbly line reads as hand-made rather than as a mistake.
Cut them long and narrow, around three and a half inches by one. Anything shorter loses the proportions that make it read as a pencil rather than a beige stick.
The build is four bands: a small pink eraser, a thin silver ferrule, a long yellow barrel and a wooden cone at the tip with a graphite point. Flood the yellow barrel first and let it skin over for twenty minutes before adding the neighbouring bands, or the colours bleed into each other along the seam.
That twenty-minute wait between adjacent colours is the entire secret of this set, and it applies to all three designs. It is not full drying, just long enough for a surface skin to form so two wet colours cannot meet.
Apples, and the Wet-on-Wet Exception
Apples are where wet-on-wet earns its place. Flood the whole apple in red, and while it is still wet, drop a smaller teardrop of white at the upper left and drag a scribe tool through it once. The white sinks flush into the red and reads as a highlight, with no ridge where the two colours meet.
Wet-on-wet only works within a few minutes, before the base has begun to set. It is the opposite of the twenty-minute rule and the two are easy to confuse: adjacent colours need the wait, colours that should merge into one flat surface need speed.
The leaf and stem go on afterwards, in a thicker piping consistency, once the red has dried at least two hours. Piped on too early they sink into the red and lose their edges entirely.
Deep red is the colour most likely to disappoint, and the fix is time rather than more gel. Mix red icing a full day ahead and let it sit covered; it darkens considerably as the colour develops, and icing coloured to look right immediately will be too dark by morning.
The School Bus, Which Needs a Plan
The bus is the only design in the set with enough adjacent sections to need a written order, and it is the one that goes wrong when improvised.
Flood in this sequence: the yellow body first, then wait. Windows in pale blue-grey next, which sit inside the yellow and need it skinned over. Wait again. Then the black wheels and the thin black window frames, and last the small red stop sign on the side.
The black lines want a thicker consistency than the flood, closer to toothpaste than to honey, piped through the smallest round tip available. Black flood icing spreads into neighbouring yellow with more determination than any other colour, largely because black needs so much gel that it thins the icing.
An alternative worth knowing: pipe the black details onto parchment a day early as royal icing transfers, let them dry hard, then lift them onto the flooded yellow bus with a dab of icing. It removes the riskiest step from the critical path entirely.
Consistencies, Concretely
Two consistencies cover all three designs. Flood icing should close over a knife-drawn line through it in about ten seconds; count it rather than eyeballing it. Faster than ten and it will run off the edges of the cookie, slower and it stays lumpy and shows the piping lines.
Detail icing for outlines, lettering and the bus frames should hold a soft peak that slumps slightly. Stiffer than that and it breaks off the tip mid-line.
Adjust with water a quarter teaspoon at a time, into a small bowl rather than the whole batch. Icing thins much faster than expected and a batch pushed too far is easier to replace than to rescue.
Gel colour only. Liquid food colouring adds enough water to shift a carefully judged flood consistency in one squeeze.
The Two-Evening Schedule
This is the part that makes the set achievable on a school morning.
The first evening: bake the cookies, mix the red icing so it can darken overnight, and pipe any black transfers onto parchment. Baked sugar cookies keep perfectly well for two days in a tin and are actually easier to decorate on day two, when the surface has fully firmed.
The second evening: mix the remaining colours, outline and flood everything, respecting the twenty-minute waits between adjacent sections. Add the detail work last.
Then leave them uncovered overnight. Royal icing needs six to eight hours to dry hard enough to stack, and a full night is the only version of that which fits around a bedtime. Cookies stacked before the icing is hard fuse together and take each other’s designs off.
Packing Them Without Wrecking Them
Once hard, they travel well, with two caveats. Do not refrigerate them, because condensation forming on the surface as they warm will pit dried royal icing and dull the colours. And keep them in a single layer if the icing has any raised detail.
Individual cellophane bags are the reliable way to send them into a classroom, and they also solve the question of whether anybody wants to eat a cookie that has been loose in a school bag since eight in the morning.
For a whole-class batch, count on the pencils being the fastest to produce by a wide margin. A mixed tray of twenty is realistic on the two-evening schedule; forty is not, whatever the plan says at nine on a Sunday night.
Frequently Asked Questions
How far ahead can back-to-school cookies be made?
Baked and undecorated, the cookies keep two days in a tin at room temperature and freeze for three months. Fully decorated, they hold their looks for about a week in a sealed container in a single layer. Decorating on the day is the one version that does not work, because royal icing needs six to eight hours to dry hard enough to stack or bag without damage.
Why do my colours bleed into each other?
Two wet flood colours were placed against each other. Adjacent sections need about twenty minutes between them so a surface skin can form on the first before the second goes on. The exception is a deliberate wet-on-wet highlight, like the white gleam on the apple, which has to be dropped in within a couple of minutes precisely so the two colours do merge. Bleeding is also worse in a humid kitchen, where skinning takes longer than twenty minutes.
Do I need a scribe tool?
A toothpick does the same job for the wet-on-wet apple highlight and for coaxing flood icing into corners. A scribe is easier to hold for a long session and does not shed fibres into the icing, which toothpicks occasionally do. It is a genuine upgrade rather than a necessity, and considerably cheaper than most of the equipment sold alongside it.
Can these be made without meringue powder?
Royal icing can be made with raw egg whites instead, but it is less stable batch to batch and raises a food-safety question for cookies going into a classroom. Meringue powder keeps for a long time, behaves identically every time, and removes the raw-egg concern entirely, which is why it is the one specialty purchase worth making for decorated cookies.
Which design should a beginner start with?
The pencils. They are four straight bands on a simple shape, the proportions are forgiving, and an imperfect line looks hand-made rather than wrong. The bus is the hardest of the three because it has the most adjacent sections and relies on black detail icing, which is the least cooperative colour to work with.
The bus that ends up with one wheel slightly larger than the other is invariably the one a child picks out of the tray first.
Recipe Card
Nutrition values are good-faith estimates and vary with the exact brands and quantities you use.
Ingredients
- 2 3/4 cups all-purpose flour
- 1 cup unsalted butter, softened
- 3/4 cup granulated sugar
- 1 egg
- 1 tsp vanilla extract
- 1/2 tsp baking powder
- 1/4 tsp salt
- 4 cups powdered sugar, for the royal icing
- 3 tbsp meringue powder
- 6 to 8 tbsp warm water
- Gel food colouring in yellow, red, pink, black and pale blue-grey
Instructions
- Cream the butter and sugar, beat in the egg and vanilla, then work in the flour, baking powder and salt until a firm dough forms. Chill 1 hour.
- Roll to 1/4 inch, cut pencils about 3 1/2 by 1 inch, plus apple and bus shapes. Chill the cut shapes 15 minutes so the edges stay sharp.
- Bake at 350F for 10 to 11 minutes, until set but barely coloured. Cool completely.
- Beat the powdered sugar, meringue powder and warm water to a stiff icing, then divide and colour with gel only. Mix the red a full day ahead so it darkens.
- Thin part of each colour to flood consistency: a knife-drawn line through it should close in about 10 seconds. Keep the rest at detail consistency, holding a soft peak.
- Pencils: flood the yellow barrel, wait 20 minutes, then add the pink eraser, silver ferrule and wooden tip.
- Apples: flood in red, and while still wet drop a white teardrop at the upper left and drag a scribe through it once. Add the leaf and stem after 2 hours.
- Bus: flood the yellow body, wait 20 minutes, add the pale blue-grey windows, wait again, then pipe the black wheels and frames and the red stop sign.
- Leave uncovered overnight, 6 to 8 hours, before stacking or bagging. Do not refrigerate.