
Sugar Cookie Designs — Decorating Ideas for Every Occasion of the Year
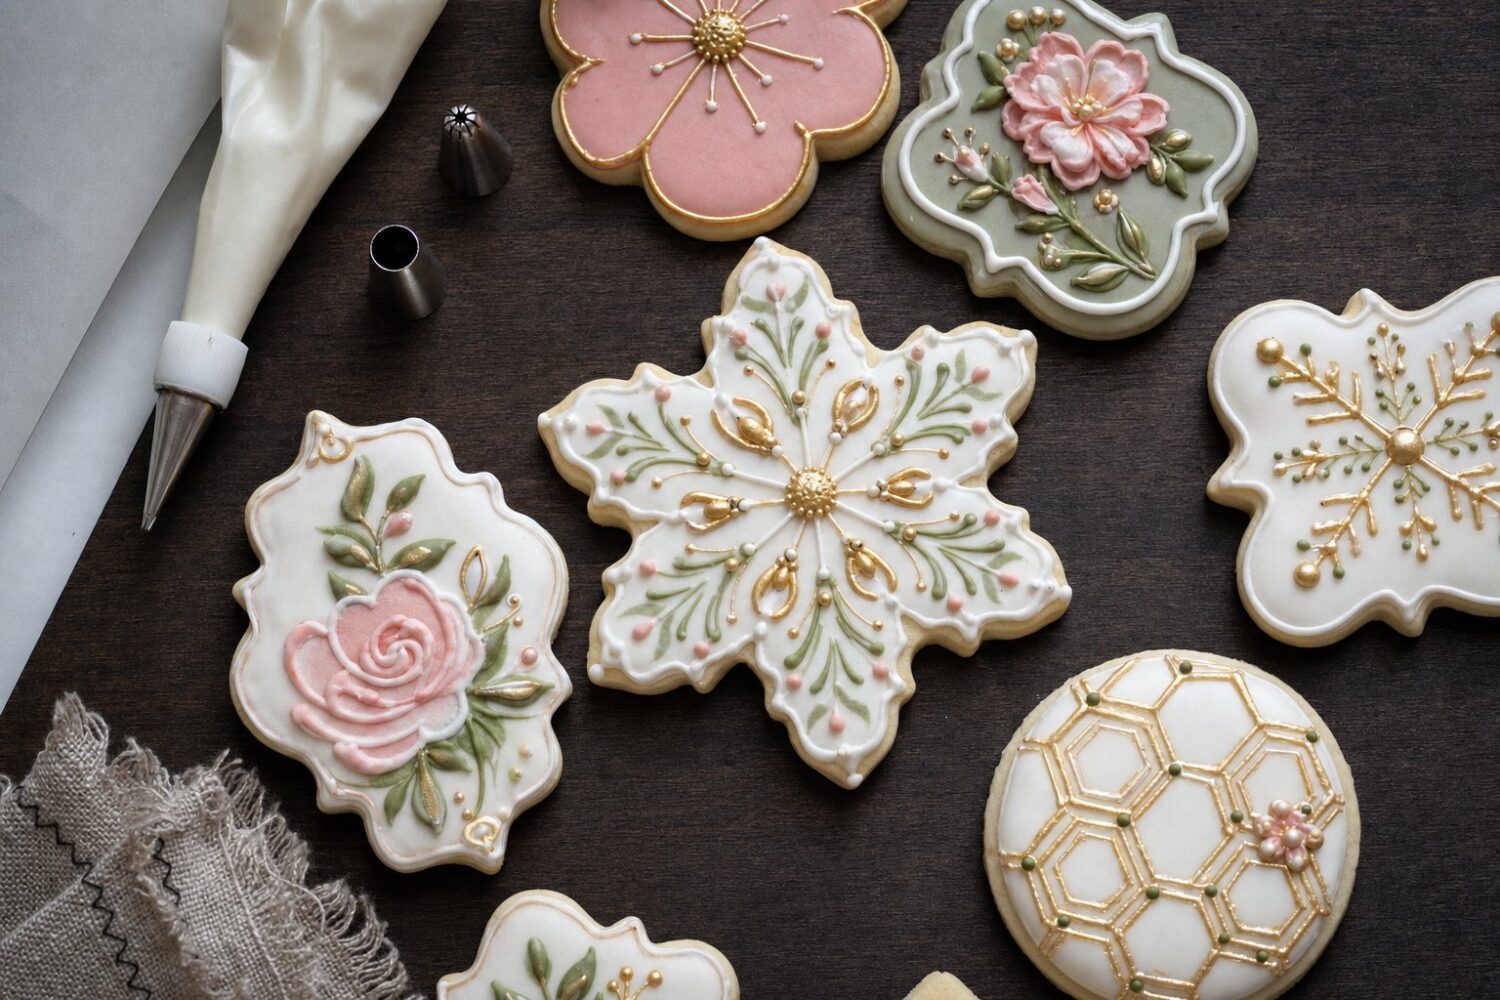
The difference between a decorated cookie that looks amateur and one that stops a scroll usually comes down to the icing’s surface, not the cutter shape underneath it.
A properly thinned flood icing dries with a faint sheen, almost like glass, and that sheen, more than any clever motif, is what makes sugar cookie designs read as finished rather than half-attempted. Get the consistency wrong and even a simple outline looks chalky under kitchen light.
Most of the cookie decorating ideas that circulate online lean hard on the finished photo and skip the part that actually matters: how the icing behaved in the bowl before it ever touched a cookie.
A design that took four colors and twenty minutes of piping can still fall apart if the base coat was too thick to spread or too thin to hold its edge.
So this is less a gallery of pretty cookies and more a working guide to the handful of decisions, icing texture, tool choice, timing between layers, that separate a design that holds together from one that cracks, bleeds, or dulls overnight.
None of it is complicated once someone has done it wrong a few times. It just rewards patience over speed. That single fact explains more failed batches than any missing ingredient does.
This guide walks through the icing itself, the small set of tools worth owning, one core technique that opens up most of the fancier-looking designs, and then a run of occasion-based ideas, before closing with a handful of practical questions that come up constantly once someone actually starts decorating instead of just admiring photos of other people’s cookies.
A short section on storage rounds it out at the end, since a beautifully piped cookie that softens overnight in the wrong container was never really finished in the first place.
Royal Icing Basics
Royal icing decorating runs on two consistencies, and confusing them is the single most common reason a first attempt goes sideways. Outline icing is stiff, thick enough to hold a piped line without slumping, roughly the texture of toothpaste. Flood icing is thinner, built to spread and self-level once it hits the surface inside that border.
A useful test: drag a knife through the icing in the bowl. If the channel closes back over itself in about ten seconds, the batch is close to right for flooding. Faster than that and it’s too thin, prone to overflowing a border; much slower, and it will dry with visible ridges instead of a smooth field.
Meringue powder has mostly replaced raw egg whites in home kitchens, and there’s a real reason for that shift beyond convenience.
Many home bakers moved away from raw whites sometime in the 1980s, after a run of egg-safety recalls made the idea of uncooked egg in a cookie feel like an unnecessary risk for something no one was actually going to eat right away.
Meringue powder sidesteps that entirely, and it also holds a more stable consistency across a longer decorating session, which matters more than it sounds like it should when working through a dozen or more cookies before the batch starts to crust in the bowl.
Color matters here too, and it trips people up more often than the consistency test does. Gel food coloring is standard for both outline and flood work because it adds pigment without adding meaningful water content.
Liquid drugstore coloring, by contrast, will thin the icing enough to throw off that ten-second window, sometimes without the decorator noticing until the flood coat is already spreading past its intended border. A few drops feel harmless. They aren’t, once several colors are mixed into the same base.
Sugar cookie decorating also depends on getting the sugar cookie dough itself right before any icing gets involved. A dough that spreads or puffs unevenly in the oven leaves an irregular surface for the icing to sit on, and no amount of careful flooding fixes a warped base.
A firm, chilled dough rolled to a consistent thickness, roughly a quarter inch, bakes flatter and gives the icing a predictable canvas.
Drying time is the part that gets rushed most often. A thin, single layer of flood icing on a small cookie can feel dry to the touch within a couple of hours, but the icing underneath is still soft, and stacking cookies at that stage will leave permanent dents.
Six to eight hours uncovered, or a full overnight, is the safer window before any packaging happens, and humid kitchens should add a few extra hours on top of that.
Tools Worth Having
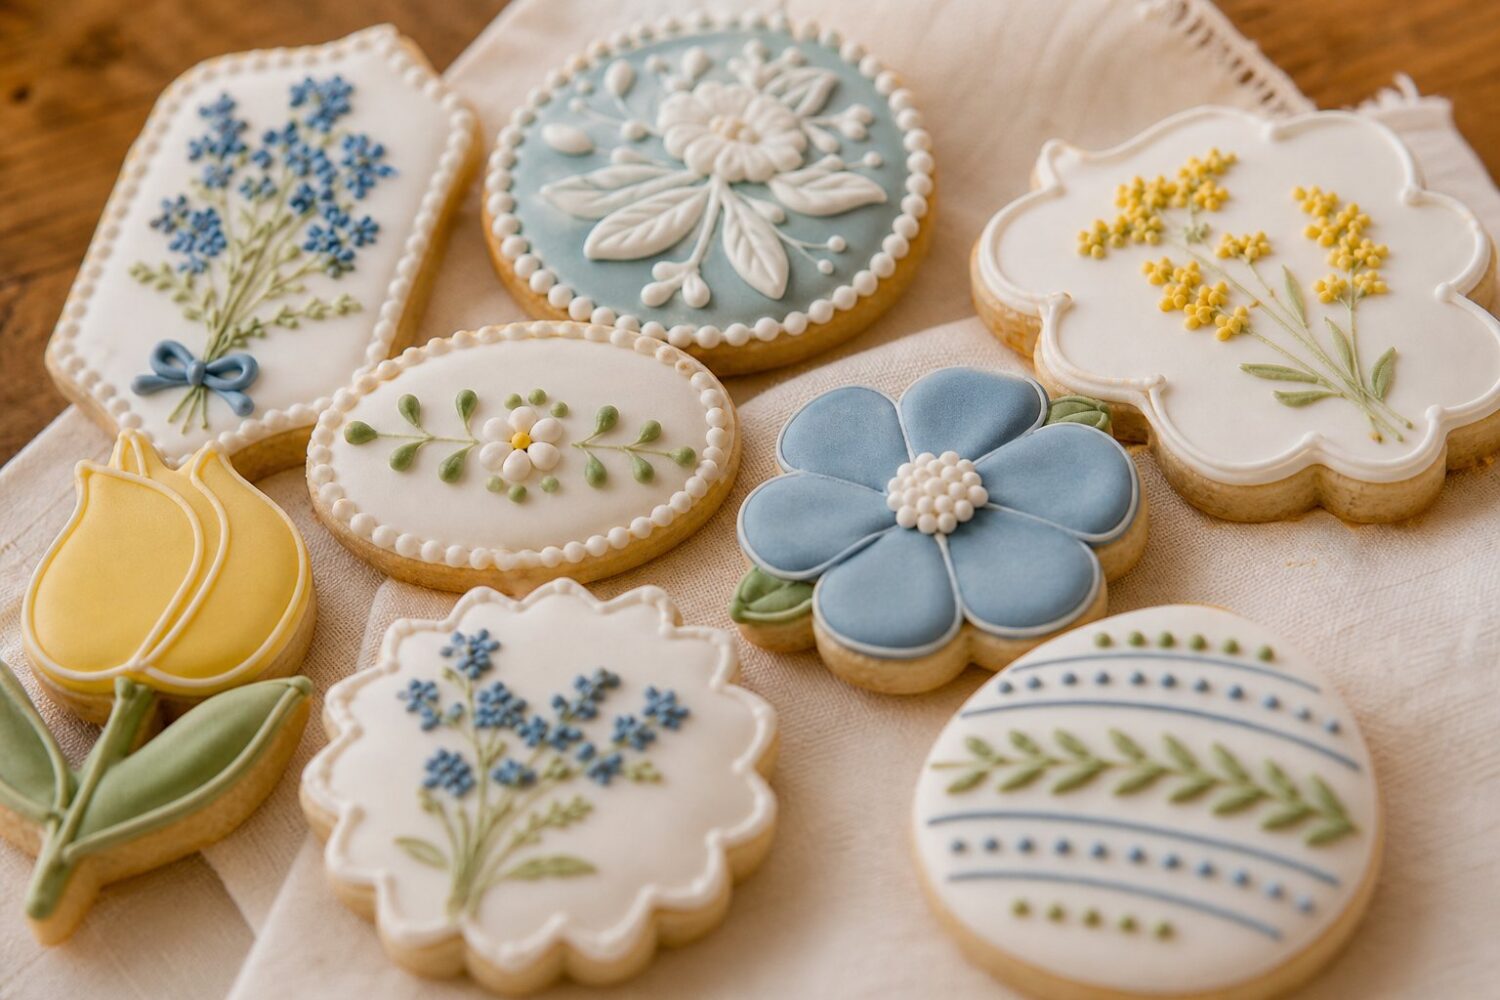
A decorator doesn’t need much to start, but a few specific pieces make the early attempts noticeably less frustrating than working with whatever happens to be in a kitchen drawer. A round piping tip, something in the small-to-medium range, handles clean outline work.
The same shape in a slightly larger size, or no tip at all with just the bag corner snipped small, works for flooding a wider area faster.
Disposable piping bags are fine for outline work, but a reusable squeeze bottle with a narrow spout is genuinely easier for flooding, especially for anyone working through more than a handful of cookies at once, since it skips the constant refilling that a floppy bag demands.
Beyond piping equipment, a plain wooden toothpick or a metal scribe tool earns its keep fast. Both get used to drag color through wet icing for marbled or feathered effects, and to pop the small air bubbles that surface right after flooding.
Left alone, those bubbles dry into permanent little craters that show up clearly in photos even when they’re barely visible in person. A few fine-tip food-safe edible markers round out the kit.
They’re the fastest way to add small linework details, tiny dots, or lettering on top of icing that’s already dried, without touching a piping bag again for a two-second fix.
A turntable helps more than it seems like it should, mostly because it lets a decorator rotate the cookie instead of twisting their wrist mid-line, which keeps piped circles and curves noticeably steadier.
Parchment paper or a silicone mat underneath the work area catches drips and gives a clean surface for practicing a tricky line before committing to the actual cookie.
If starting from nothing, a small set of tips, one or two squeeze bottles, a handful of scribes, and a couple of edible markers covers the large majority of home decorating projects without ever needing anything more specialized than that.
Cleanup matters more than it gets credit for. Dried royal icing hardens inside a piping tip almost like plaster, and a tip left uncleaned overnight can be genuinely difficult to clear the next time it’s needed.
A quick soak in warm water right after use, followed by a pass with a small brush through the opening, keeps every tip usable for years instead of a handful of projects.
Squeeze bottles are easier in this respect since a narrow bottle brush reaches the whole interior in one motion, but they still dry out fastest when rinsed immediately rather than left on the counter until the next session.
Wet-on-Wet Marbling and Feathering
Wet-on-wet is the technique behind most of the marbled, feathered, and dotted-line cookie designs that look far more advanced than they actually are to execute. The whole method depends on timing.
The base flood coat has to still be genuinely wet rather than merely glossy-looking on the surface when the second color goes down, because the technique only works while both layers can still move against each other freely.
Start by flooding the cookie in a base color and letting it sit for roughly thirty seconds to settle and self-level on its own. While it’s still fully liquid, pipe dots, lines, or small shapes of a second color directly on top of that base.
For a marbled look, drag a toothpick or scribe through both colors in loose, sweeping curves. Too many passes and the colors muddy together into a flat gray-brown instead of staying distinct from each other.
Feathering works a little differently, and it’s the effect people ask about most once they’ve seen it done once. Pipe a series of parallel lines in the second color across the wet base, evenly spaced, then drag the toothpick perpendicular through all of them in one continuous stroke.
Done right, each line pulls into a small feathered point, and the whole row reads as a single repeated pattern rather than a set of individual marks. Hesitate halfway through the drag and the line stalls, leaving a visible break where the motion paused.
The technique traces loosely back to methods used in traditional egg-decorating crafts, where colored dye was dragged through a wax resist in similarly sweeping motions long before anyone was doing anything like it on a cookie.
Whatever the actual ancestry, the mechanics translate directly: a wet base, a contrasting color, and one confident pass with the tool. Speed matters less than commitment to the motion once it starts.
Practicing this a few times on parchment paper, away from an actual cookie, saves the first real attempt from feeling like a gamble. It also builds a rough sense of exactly how long a given batch stays workable before it sets past the point of movement.
Design Ideas by Occasion
Seasonal work is where a lot of cookie designs earn repeat orders, since the same handful of motifs, a snowflake, a pumpkin, a simple leaf, get requested year after year with only the color palette changing.
A snowflake done in wet-on-wet white-on-pale-blue reads as elegant without much piping detail at all, while a pumpkin shape benefits from actual texture: piped vertical ridges in a slightly darker orange, plus a small brown stem, turn a flat orange oval into something recognizable from across a table.
Autumn leaves done in wet-on-wet reds and golds, dragged from the base outward in short strokes, fill out a fall cookie box without requiring five separate colors of flood icing.
Birthday and celebration cookies tend to reward color choice over piping technique. A simple round cookie flooded in one bright base, then topped with a scattering of piped dots in two or three contrasting colors, covers most birthday-party quantities without demanding advanced skill from whoever is actually making them. Simple wins here.
Lettering is the one place where practice shows clearly. A wobbly number or name stands out on a cookie in a way it wouldn’t on a cake, so it’s worth practicing the exact phrase on parchment paper first, more than once if the name is long.
Monochrome minimalist designs, a single outline color on a plain white or cream base with no flood fill at all, have become a popular sugar cookie decorating idea precisely because they photograph well and take a fraction of the time a fully flooded cookie needs.
A thin, confident outline in ink-black or deep-navy, left as the only decoration, can look more deliberate than a busier design with five colors all competing for attention. This is also the fastest category to batch in volume, which is part of why it shows up so often for large orders.
Pop-culture-inspired abstract shapes, bold geometric blocks, exaggerated star or lightning-bolt outlines, oversized polka dots in saturated color combinations pulled from video-game or comic-style palettes rather than any specific character, give a decorator a way to nod at that visual energy without copying a trademarked image directly. Sharp color contrast does most of the work here.
A hot-pink base with electric-blue linework reads as playful and current even with a fairly simple shape underneath it, and the same basic palette can be recycled across a dozen different outlines without ever repeating the exact look.
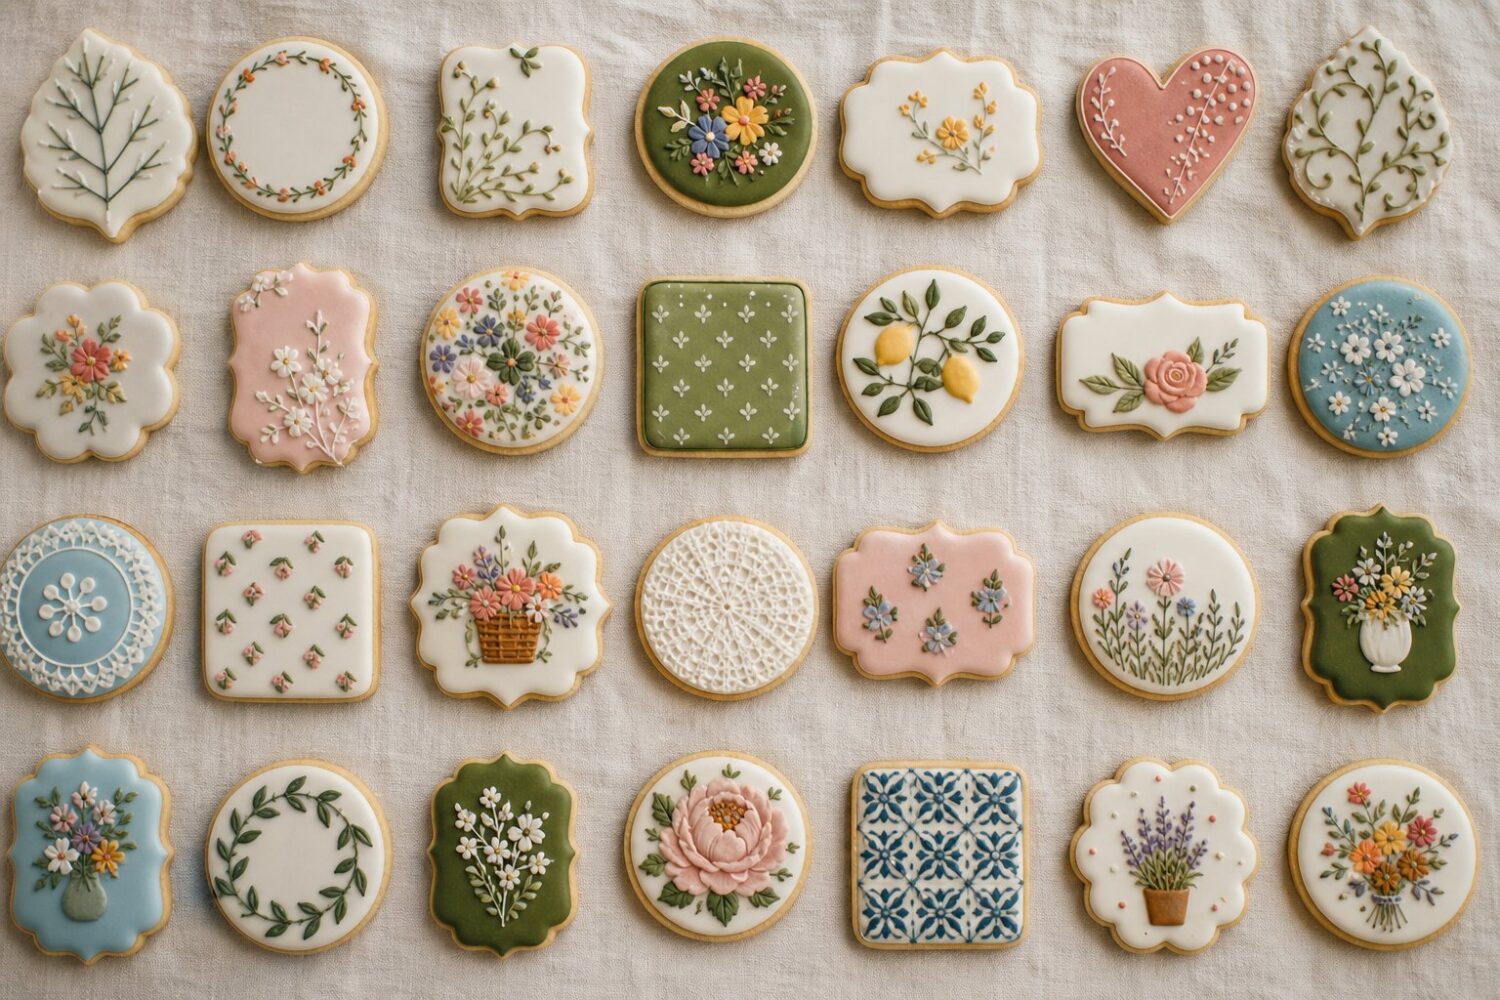
Nature-inspired work, florals especially, sits at the more advanced end of cookie decorating ideas because petals usually require several thin layers built up over multiple drying breaks rather than one wet-on-wet pass. A five-petal flower piped in graduated pink shades, with a small yellow center added last, takes considerably longer than almost anything else on this list.
A full tray of them, arranged together, looks disproportionately impressive relative to the actual difficulty once the layering process is understood, which is exactly why floral cookies show up so often at the higher end of custom orders.
Decorating Your Own Sugar Cookie Designs
Good cookie designs usually start by copying someone else’s, and that’s fine. The decorating skill that actually transfers, consistency control, clean outlines, patience between coats, is the same no matter whose design sits on top of it.
Frequently Asked Questions
What’s the best icing consistency for cookie designs?
Most cookie designs need two separate consistencies: a stiffer icing for the outline, thick enough to hold a piped border without slumping, and a thinner flood icing that self-levels inside that border within roughly ten seconds of being disturbed.
Dragging a knife through the bowl and timing how quickly the channel closes is a faster gauge than judging by eye alone, and it’s worth doing before every new batch rather than assuming yesterday’s ratio will behave the same way today.
How long does decorated icing take to fully dry?
The surface can feel set within a couple of hours, but the icing underneath usually needs six to eight hours, or a full overnight, before it’s firm enough to stack or package without leaving dents.
Humid conditions can push that window even longer, so it helps to plan decorating a day ahead of when the cookies actually need to travel or ship.
Can I try cookie decorating ideas without owning piping bags?
Yes. A reusable squeeze bottle with a narrow tip handles flood work fine, and a small zip-top bag with one corner snipped off is a reasonable stand-in for piping simple outlines and dots while starting out. If you’re just beginning, a squeeze bottle is often the easier of the two to control.
Why did my flood icing crack or develop craters?
Cracking usually signals icing that was mixed too thin or applied too thick in a single pass. Craters are almost always trapped air bubbles that surfaced right after flooding, and running a toothpick lightly over the wet surface within the first minute pops them before the icing sets around them for good.
What are the easiest sugar cookie designs for a beginner to try?
Monochrome outline designs and simple wet-on-wet dot patterns are the most forgiving starting points among sugar cookie designs, since both rely more on getting the icing consistency right than on any real piping precision. Save the layered florals for after a few dozen simpler cookies.
One small, unglamorous detail worth keeping in mind after all of this: decorated cookies store best in a single layer, in a container that isn’t fully sealed, for the first day.
A tight lid traps residual moisture against icing that’s still curing underneath, and that softens a crisp outline overnight in a way that’s hard to notice until the next morning.
After that first day, once everything has properly set, an airtight tin is exactly what you want, and the cookies will hold their edge for a week or more without any special handling.