
Protein Nanaimo Bars — the Classic No-Bake Layered Recipe, Healthified
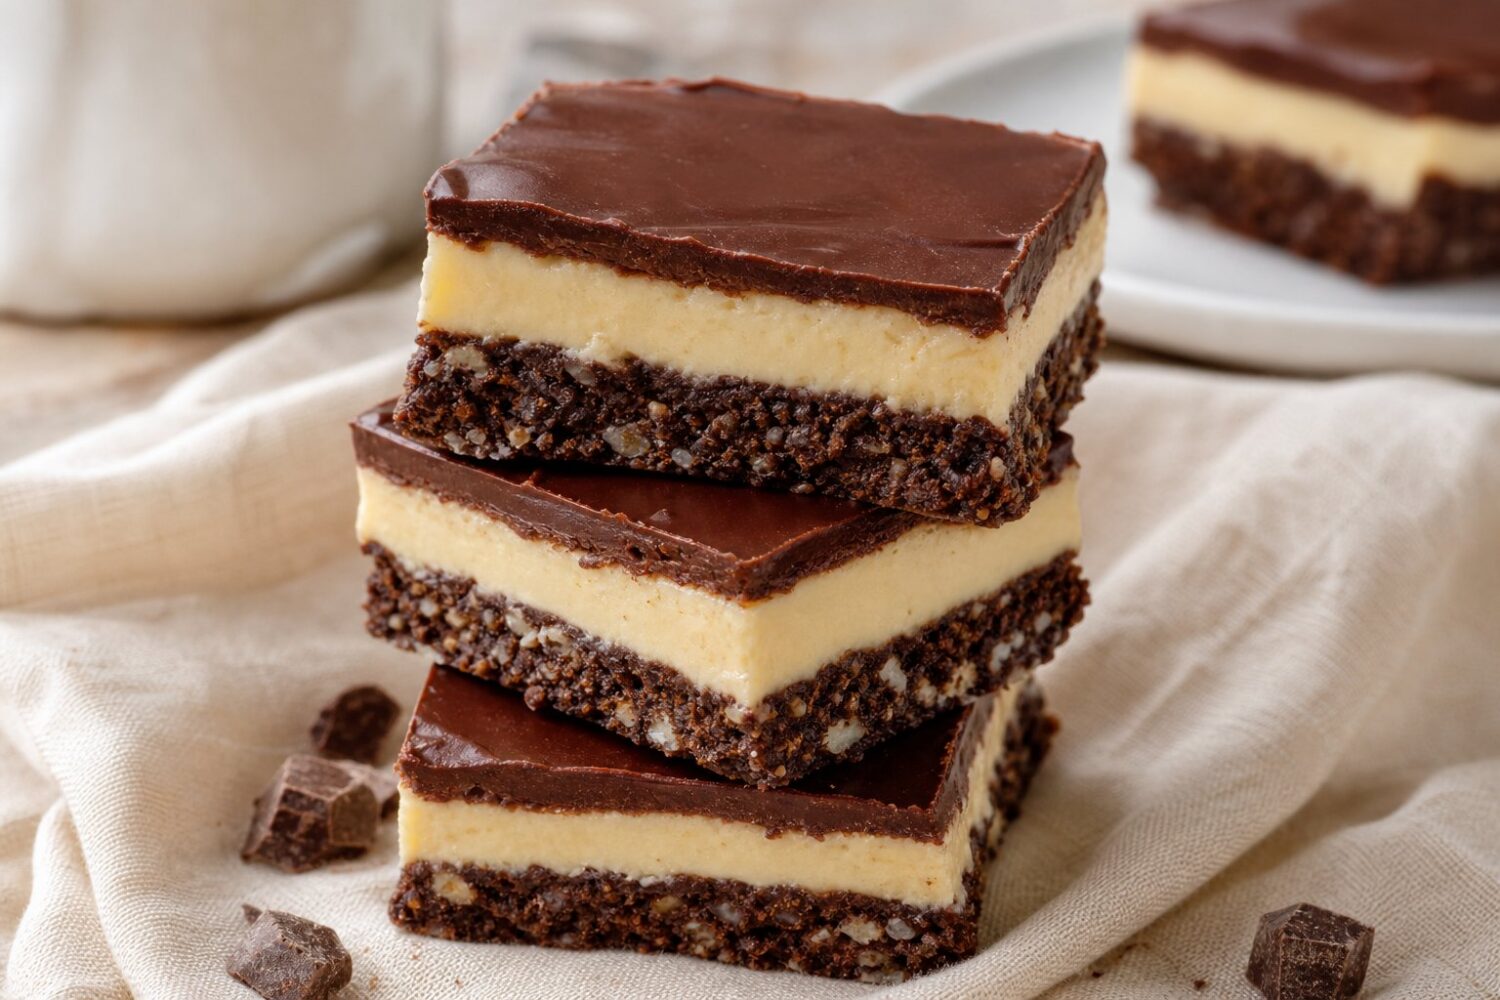
Nanaimo, a small city on Vancouver Island, gave its name to this bar sometime in the 1950s, and the treat has barely changed since — a crumb base, a custard-colored middle, a shell of chocolate on top, no oven involved at any point.
This version keeps the three-layer shape everyone recognizes but swaps a chunk of the middle layer’s icing sugar for protein powder, so the bar carries a bit more staying power alongside the usual afternoon-coffee appeal.
Sixteen squares come out of one 8×8-inch pan, each one landing around 140 calories with 6 grams of protein and 5 grams of sugar.
The process is closer to assembly than baking. Nothing goes in an oven; everything sets in the fridge in stages, so the timeline is mostly patience broken up by short bursts of mixing.
Ingredients You’ll Need
The base layer leans on graham-style crumbs, cocoa powder, shredded coconut, and a portion of vanilla protein powder, all bound together with melted coconut oil until the mixture holds a shape when pressed.
Coconut oil does double duty here: it carries the cocoa flavor and it firms up in the fridge, which is what lets you cut clean squares later instead of a crumbly mess.
The middle layer is the one people usually remember from a bakery version — pale, slightly grainy, sweet in a way that borders on custard.
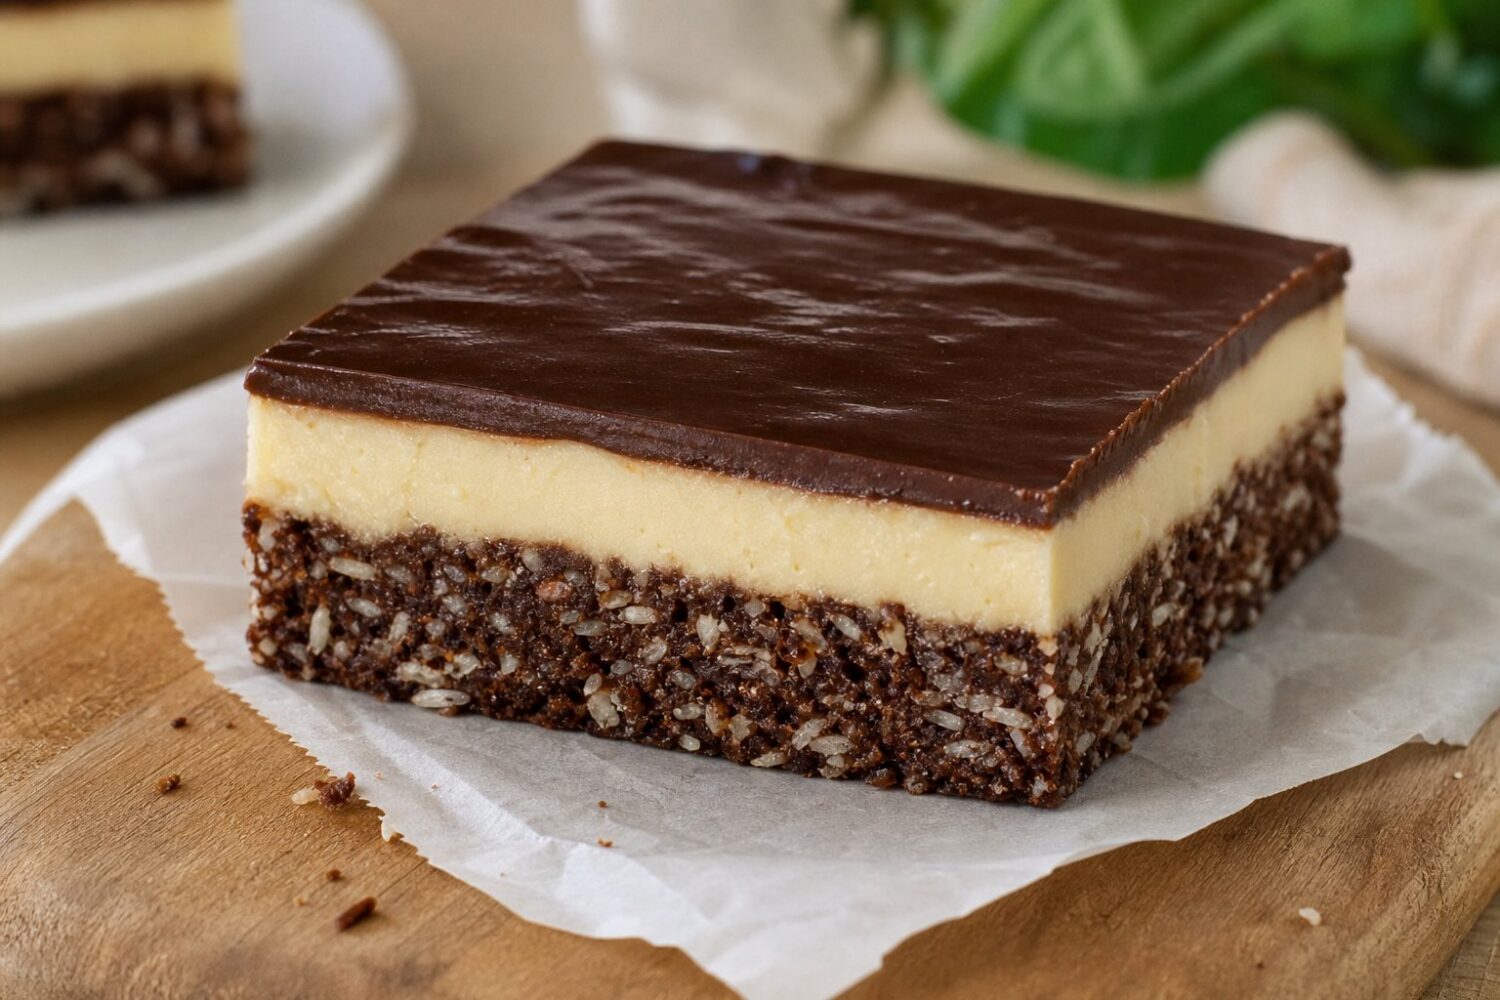
This recipe builds it from coconut butter (not coconut oil; coconut butter includes the pulverized flesh of the coconut, which gives it body), more vanilla protein powder, and a splash of plant milk to loosen everything into something spreadable.
Coconut butter can seize up in a cold kitchen, so a brief warm-water bath on the jar before measuring makes it much easier to work with.
The top layer is just melted dark chocolate, poured over the chilled middle and tilted until it reaches every corner. Dark chocolate sets with a cleaner snap than milk chocolate and carries less added sugar, which matters given how much surface area that top layer covers per bar.
Where the Protein Actually Comes In
Traditional nanaimo bars get their volume mostly from icing sugar and butter in the middle layer — pleasant, but nutritionally it’s doing one job.
Splitting the protein powder across the base and the middle layer instead spreads it through the bar rather than concentrating it in a single bite, so every square carries roughly the same 6 grams whether you cut from the corner or the center.
Vanilla protein powder works better here than chocolate or unflavored versions. Chocolate powder tends to compete with the cocoa already in the base and can push the flavor toward bitter; unflavored powder is fine functionally but leaves the middle layer tasting flat next to the rich top and bottom.
A whey-based blend gives the smoothest texture in the middle layer, though a plant-based one works if you thin it with a touch more milk, since plant powders tend to drink up liquid faster.
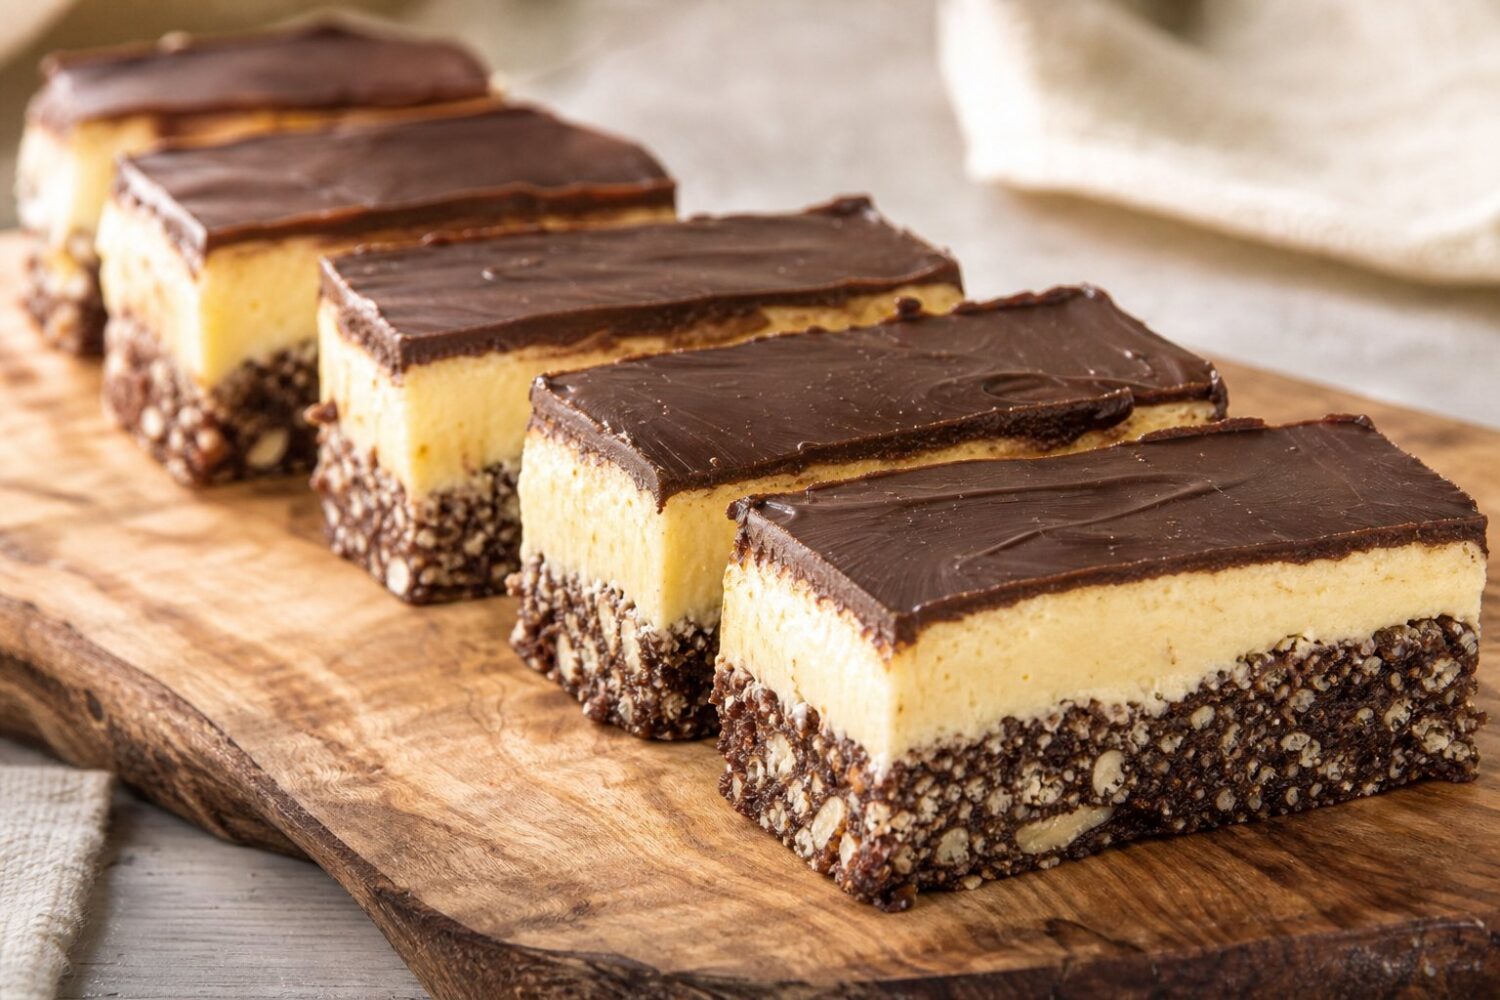
One practical note: protein powders vary a lot in sweetness and thickness between brands, so the first batch is worth tasting at the mixing-bowl stage. If the middle layer seems dry or crumbly rather than spreadable, another half-tablespoon of plant milk usually fixes it without throwing off the set.
Storage and Freezing
These bars keep well in the fridge, covered, for about a week — the chocolate top stays glossy and the base doesn’t dry out the way some no-bake crusts do.
For longer storage, nanaimo bars freeze unusually well, better than most bar cookies, since the fat content in both the base and middle layers keeps ice crystals from forming in a way that ruins the texture.
Cut the full pan into 16 squares before freezing rather than freezing it whole, and separate the layers with parchment or wax paper if stacking them in a container. Frozen bars will keep for up to three months and thaw at room temperature in about 20 minutes — long enough to soften without melting the chocolate top.
Pulling one straight from the freezer and eating it half-frozen is also fairly common in households that make these regularly; the texture holds up better than most desserts do at that temperature.
Frequently Asked Questions
Can I use a different protein powder besides vanilla?
Vanilla gives the most balanced result, but a mild unflavored powder works if you add an extra half-teaspoon of vanilla extract to the middle layer to compensate. Chocolate protein powder tends to make the whole bar taste one-note, since the base layer is already cocoa-forward.
Why is my middle layer too soft to hold its shape?
This usually means the coconut butter wasn’t warmed enough before mixing, or too much plant milk was added at once. Chill the pan for an extra 10 to 15 minutes before pouring the chocolate layer, and add liquid to the middle mixture a teaspoon at a time going forward.
Do these bars need to stay refrigerated?
Yes. The coconut oil in the base and the coconut butter in the middle layer soften noticeably at room temperature, and the bars can slump out of shape within an hour or two in a warm kitchen. Keep them chilled until shortly before serving.
Can I substitute the coconut oil in the base layer?
Melted butter works as a swap and gives a slightly richer, less coconut-forward flavor, though the base will be a touch softer at room temperature since butter has a lower melting point than coconut oil. If you switch, keep the bars in the fridge rather than the counter between servings.
A pan cut into 16 squares disappears faster than the size suggests — the top layer is thin enough that two bars barely register as more than a handful of chocolate, until the protein and coconut oil catch up with you about twenty minutes later.
Recipe Card
Nutrition values are good-faith estimates and vary with the exact brands and quantities you use.
Ingredients
- 1.5 cups graham-style crumbs
- 1/3 cup cocoa powder
- 1/2 cup shredded coconut
- 1 scoop (about 30g) vanilla protein powder
- 1/2 cup melted coconut oil
- 1/3 cup coconut butter
- 2 tbsp plant milk
- 1 cup dark chocolate, melted
Instructions
- Mix the graham crumbs, cocoa powder, coconut, and half the protein powder with the melted coconut oil. Press firmly into a parchment-lined 8x8-inch pan and chill for 15 minutes.
- Beat the coconut butter, remaining protein powder, and plant milk until smooth and spreadable. Spread over the chilled base layer.
- Chill again for 15 minutes until the middle layer firms up.
- Pour the melted dark chocolate over the top and tilt the pan to spread it evenly.
- Chill for at least 30 minutes before cutting into 16 bars.
- Store in the fridge for up to a week, or freeze for up to 3 months.