
St. Patrick’s Day Sugar Cookies — the Green Ombre Design, Step by Step
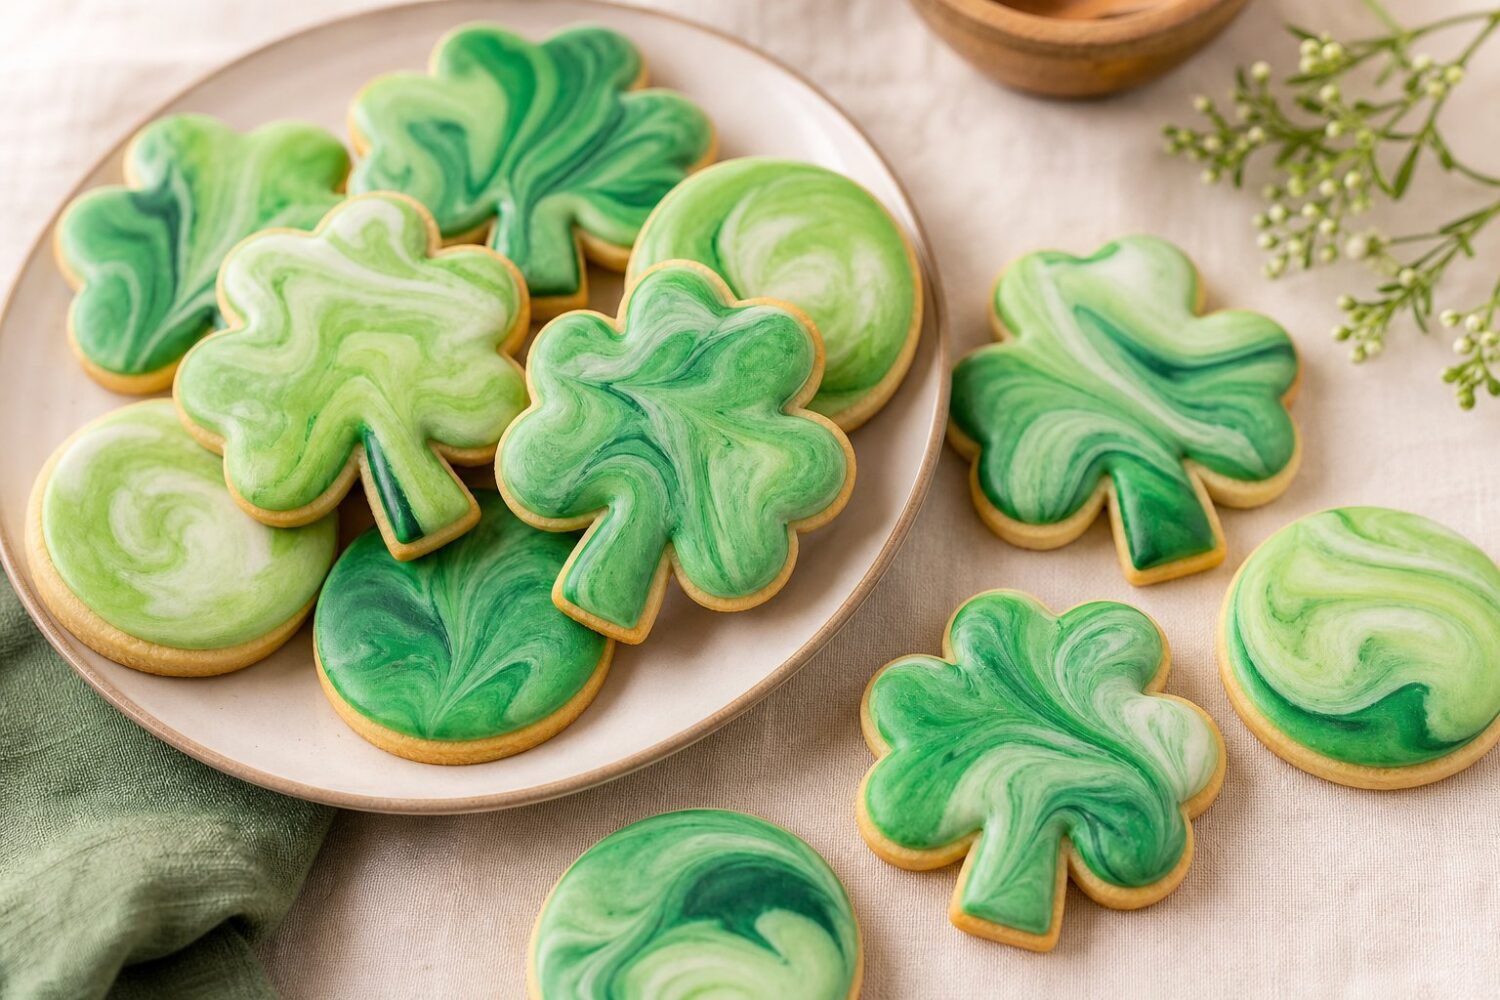
A tray of shamrock-shaped cookies fresh from the oven looks a little plain until the icing goes on. That’s where the sea of green effect comes in: instead of one flat coat of frosting, several shades of green are blended wet-on-wet right on top of each cookie, so every one ends up with its own marbled pattern.
No two look exactly alike, which is most of the appeal for a St. Patrick’s Day platter.
The base here is a straightforward sugar cookie dough, the kind that holds a crisp shamrock outline in the oven instead of spreading into a rounded blob. It gets a proper chill before cutting, and again after cutting, which keeps those three-lobed points sharp.
From there it’s mostly a matter of mixing three or four tones of green icing and working quickly while the first layer is still wet.
Ingredients You’ll Need
The dough calls for pantry basics: 2¾ cups of all-purpose flour, 1 cup of softened butter, 1 cup of granulated sugar, one egg, a teaspoon of vanilla extract, and a half teaspoon of baking powder to keep the crumb from turning dense. Nothing unusual, and nothing that needs a special trip to the store.
The icing side is where the list gets more specific. A batch of royal icing takes 4 cups of powdered sugar and 5 tablespoons of meringue powder, thinned with water until it reaches flood consistency, meaning it settles flat on its own within about ten seconds of being poured.
That base batch then gets divided into two or three bowls and tinted with gel food coloring in different depths of green: a pale mint, a mid-tone kelly green, and a darker forest or hunter shade work well together.
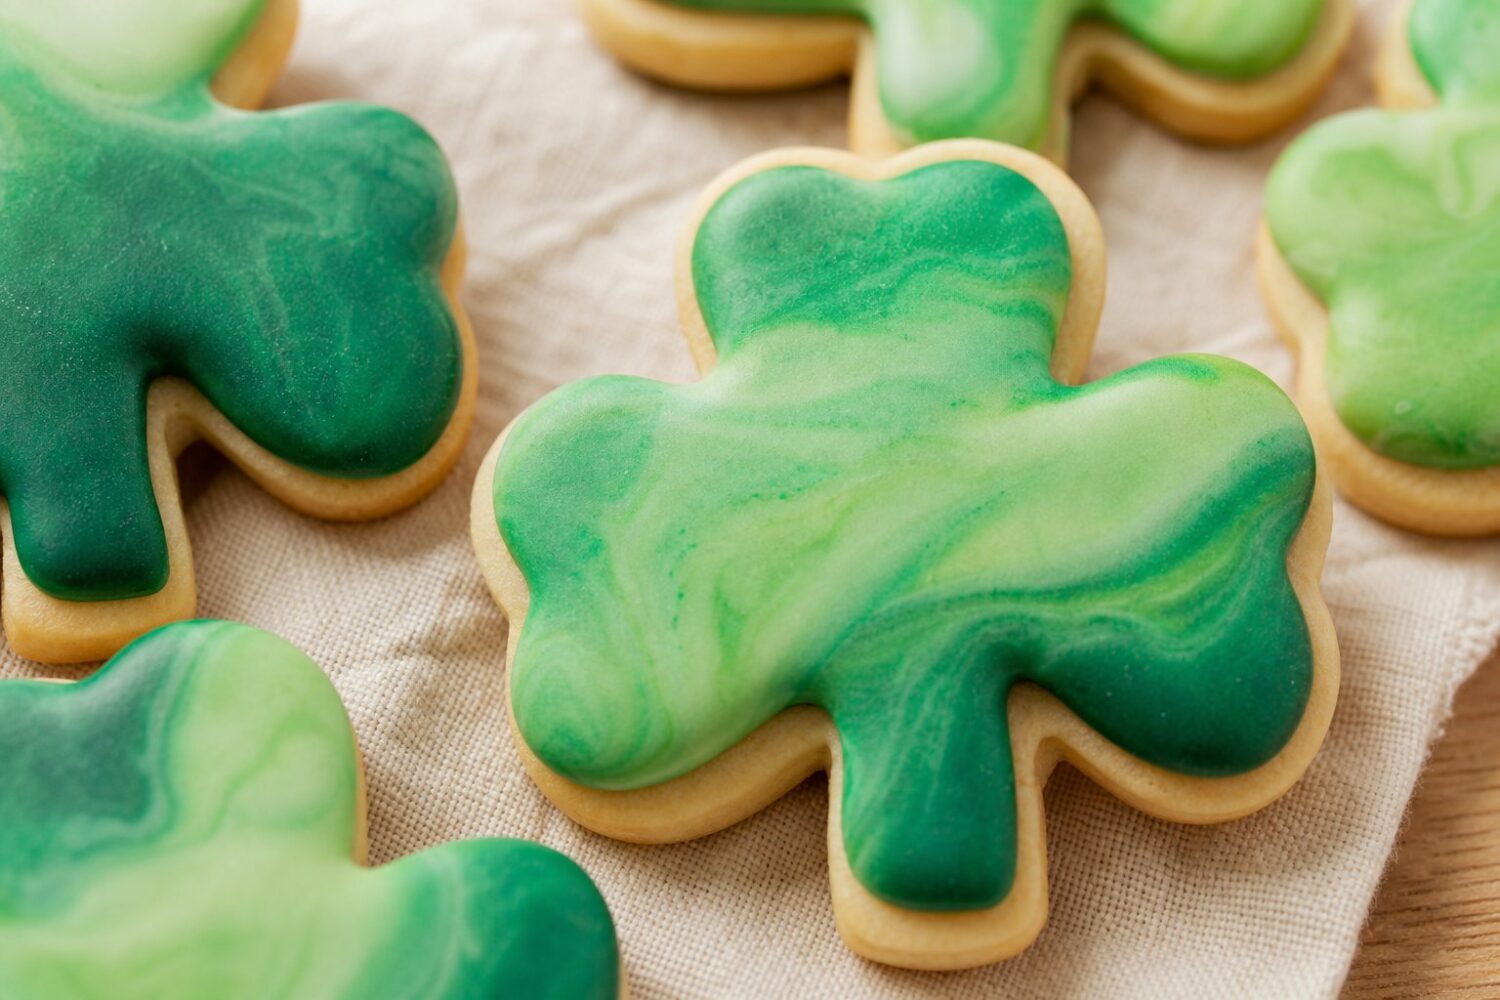
Gel coloring matters more than liquid drops here, since liquid food coloring waters down the icing and throws off the flood consistency.
Cutting and Chilling for Clean Shapes
Once the butter and sugar are creamed and the egg and vanilla are beaten in, the flour and baking powder get mixed in just until a dough forms. Overworking it at this stage is the main reason sugar cookies turn tough, so it’s worth stopping as soon as the flour disappears.
The dough then goes into the refrigerator for at least an hour, which firms up the butter enough that the shapes hold when they hit a hot oven.
Rolling it out to an even quarter-inch thickness matters more than it might seem. Thinner spots bake faster and can scorch at the edges while thicker sections in the same batch are still underdone.
A shamrock cutter and a plain circle cutter both work fine for this design; the circles give a cleaner canvas for the ombre marbling, while the shamrocks lean into the holiday shape. After cutting, the shapes go back in the fridge on the baking sheet for another ten to fifteen minutes.
That second chill is the part people skip, and it’s the reason clover points sometimes soften and slump in the oven. Baking at 350°F takes about 9 minutes, just until the edges look set but before any color shows on top. The cookies need to cool completely, ideally an hour, before any icing goes anywhere near them.
Building the Wet-on-Wet Green Ombre
This technique depends on speed, so it helps to have all three shades of icing bagged and ready before the first cookie gets touched.
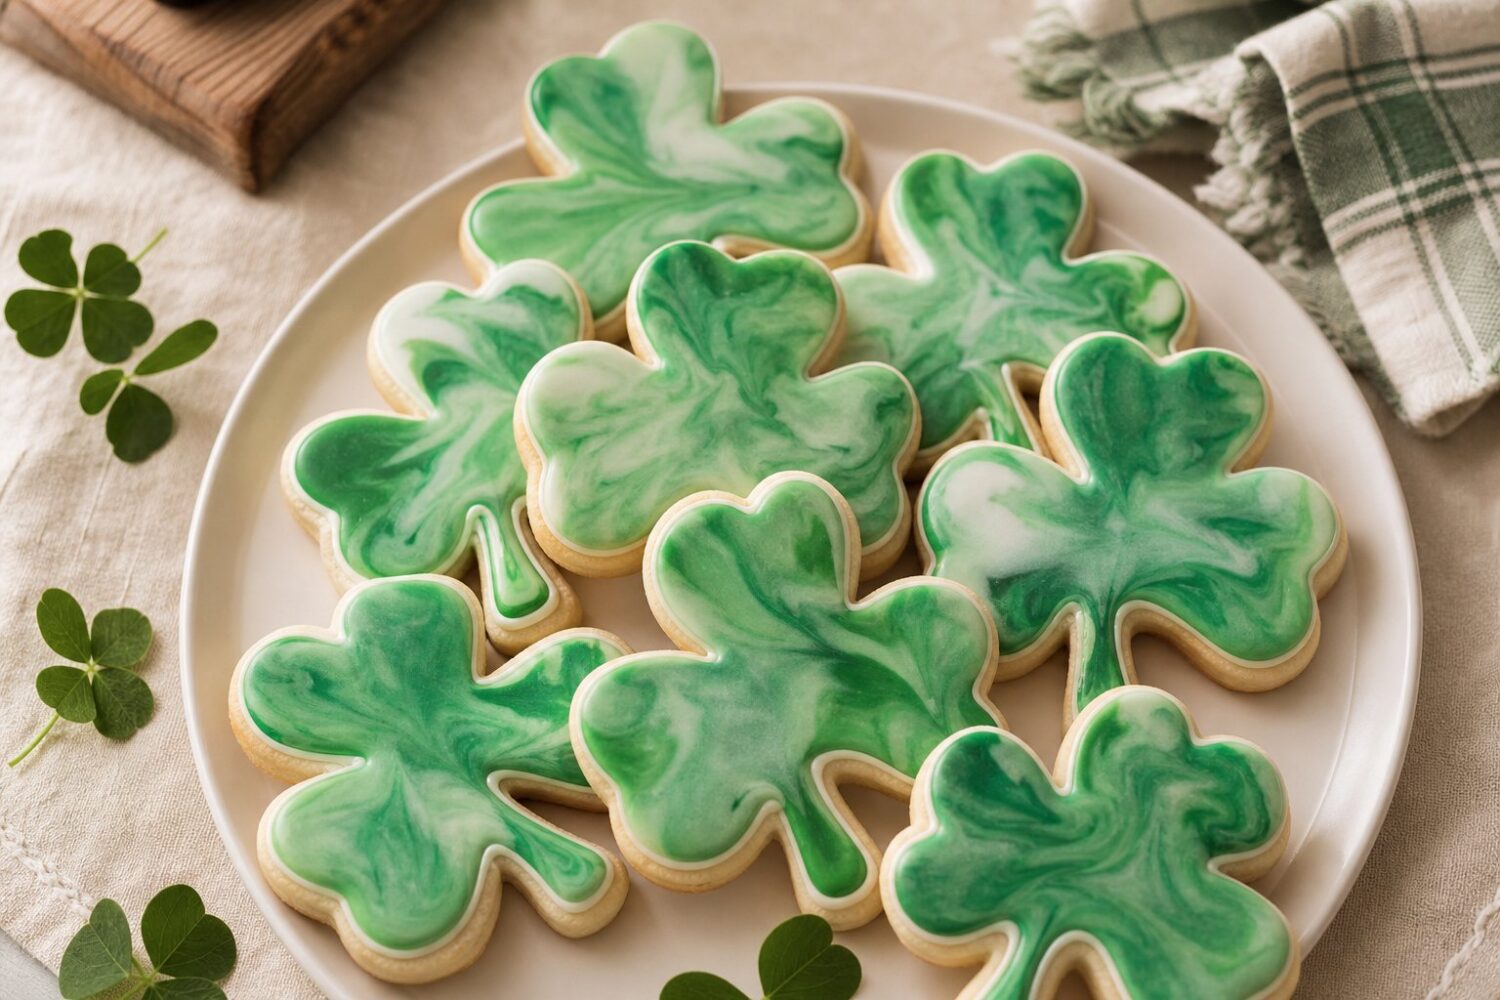
Start with the lightest green as the base coat: pipe an outline around the edge of the cooled cookie, then flood the center and use a scribing tool or toothpick to push the icing right up to the border.
While that base layer is still wet and glossy, drop small dots of the second, darker shade in a loose ring or scattered pattern across the surface. Working immediately, drag a toothpick through each dot, pulling it toward the center or out toward the edge, to blend the colors into soft streaks rather than solid dots.
A third, darkest shade can go on the same way in fewer spots, usually near the center or along one edge, for depth. The whole process for one cookie takes maybe thirty seconds; wait too long and the base coat starts to set, and the toothpick will drag through a crust instead of blending smoothly.
Once the marbling is dropped in, the cookie needs to sit flat and undisturbed. Royal icing looks dry to the touch within an hour or two but stays soft underneath for much longer, so a full six hours, or overnight, before stacking or bagging keeps the design from smearing.
Frequently Asked Questions
Can the dough be made ahead and frozen?
Yes. The unbaked dough keeps well wrapped tightly and frozen for up to three months. Thaw it in the refrigerator overnight before rolling, since it needs to be cold but pliable rather than frozen solid or fully warmed to room temperature.
What if the icing sets before the marbling is finished?
Work in small batches of two or three cookies at a time rather than flooding an entire tray at once. If a base coat does start to skin over before the second color goes on, it’s better to let that cookie finish drying plain and move to a fresh one than to force a toothpick through a half-set surface.
Why did the shamrock points spread or blur in the oven?
This almost always comes down to skipping the second chill after cutting. Warm dough softens quickly once it hits the oven’s heat, and the thin points of a shamrock shape are the first part to lose their edge. Ten to fifteen minutes back in the fridge on the tray solves it.
How far in advance can these cookies be decorated?
Decorated and fully dried cookies keep in an airtight container at room temperature for about a week without the icing dulling or the cookie going stale. Stack them with parchment or wax paper between layers so the marbled tops don’t rub against each other during storage.
One batch of this dough, rolled a quarter-inch thick, yields about 20 cookies between the shamrock and circle cutters, with enough icing left over in the lightest shade to touch up any spots that need it. A three-inch shamrock and a three-inch circle both fit twelve to a standard half-sheet pan, which keeps the whole batch to two bakes.
Recipe Card
Nutrition values are good-faith estimates and vary with the exact brands and quantities you use.
Ingredients
- 2.75 cups all-purpose flour
- 1 cup butter, softened
- 1 cup sugar
- 1 egg
- 1 tsp vanilla extract
- 1/2 tsp baking powder
- 4 cups powdered sugar (for icing)
- 5 tbsp meringue powder
- Green gel food coloring (2-3 shades)
Instructions
- Cream the butter and sugar, then beat in the egg and vanilla extract.
- Mix in the flour and baking powder until a soft dough forms. Chill for at least 1 hour.
- Preheat the oven to 350°F (175°C). Roll out the dough and cut into shamrock and circle shapes.
- Bake for 9 minutes, until the edges are just set. Cool completely before icing.
- Mix the powdered sugar and meringue powder with water to make a flood-consistency icing, then split into 2-3 bowls and tint with different shades of green.
- Working quickly, pipe outlines and flood each cookie, then drop dots of a second green shade while the base is still wet and drag a toothpick through for a marbled ombre effect.
- Let the icing dry fully, at least 6 hours, before stacking or storing.