
Beach-Themed Sugar Cookies — a Seashell Decorating Guide
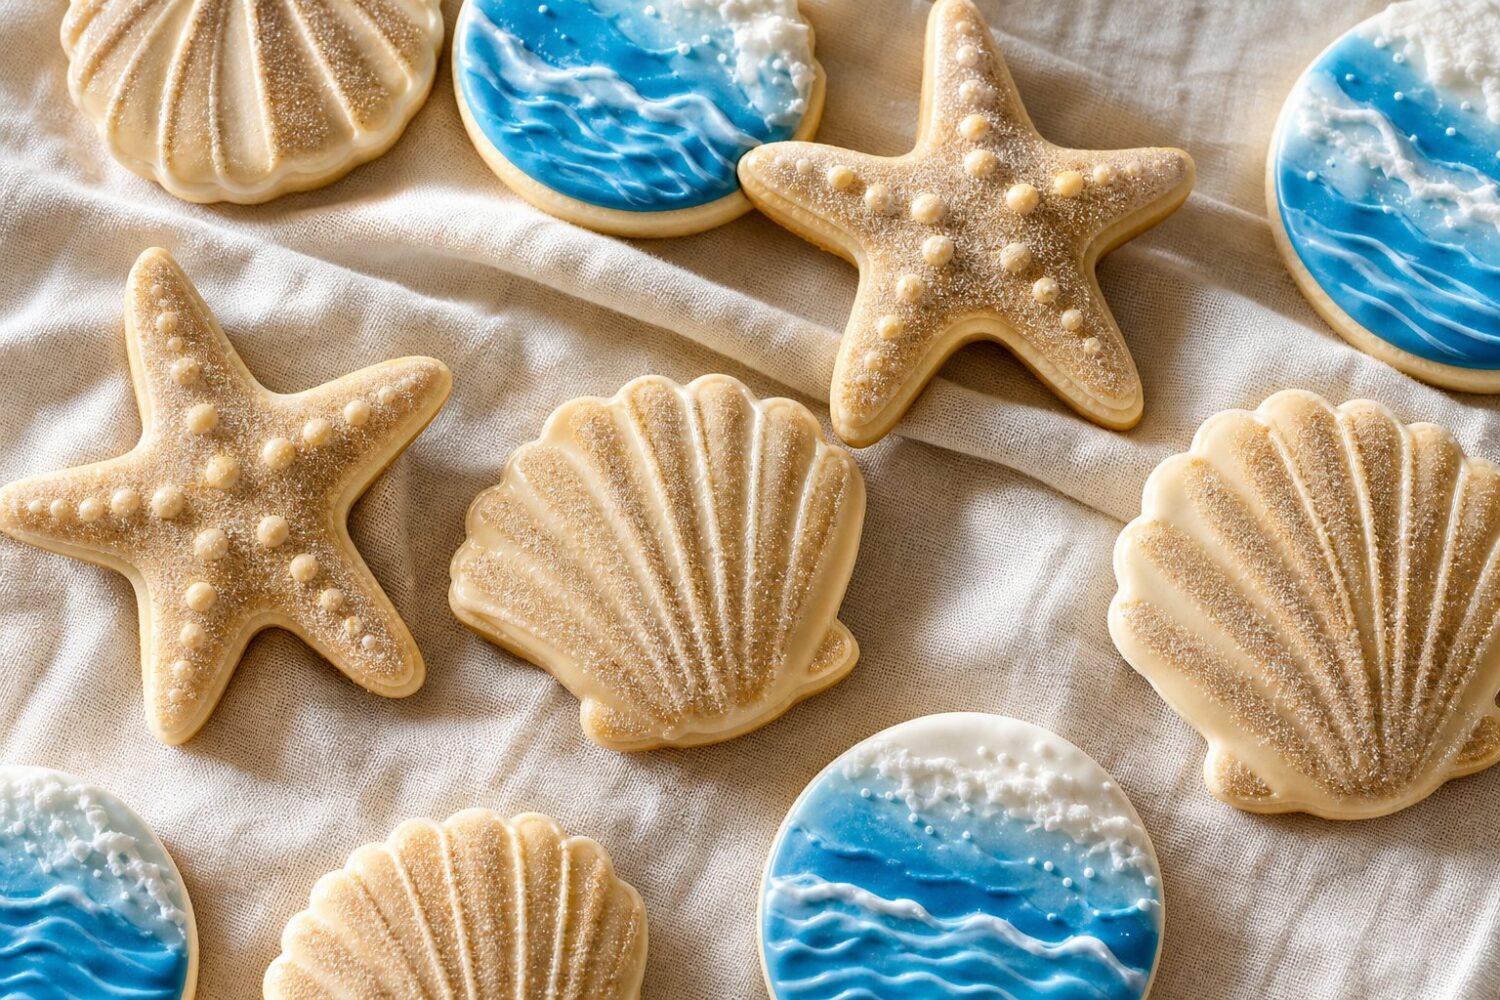
Sandy icing texture is one of those tricks that looks far harder than it actually is. A handful of these cookies, cooling on a rack shaped like shells and starfish, is usually enough to convince anyone that a beach trip is overdue, even in the middle of a landlocked July.
The whole batch takes an afternoon, most of which is hands-off chilling and drying time, not active work.
This version uses one dough for every shape and one icing base split into two colors, so there’s no need to juggle separate recipes for shells, starfish, and waves. The sandy texture comes from ordinary sanding sugar pressed into wet icing, and the wave lines are just two shades of blue dragged together with a toothpick.
Nothing here requires an airbrush or a steady hand with a fine-tip brush.
Ingredients You’ll Need
The base dough is a standard rolled sugar cookie: 2.75 cups all-purpose flour, 1 cup softened butter, 1 cup sugar, one egg, a teaspoon of vanilla extract, and half a teaspoon of baking powder. Nothing exotic here.
It’s the same dough that holds crisp, clean edges for gingerbread-style cutters, which matters more here than in a drop cookie since shell ridges and starfish points need to survive both the oven and a trip through the freezer.
For the icing, a royal icing base of 4 cups powdered sugar and 5 tablespoons meringue powder, thinned with water to two different consistencies: stiffer for outlining, looser for flooding. Two gel colors do the job: a warm tan for the sand-shell mixture and a true blue for the wave cookies.
Gel colors matter more than liquid food coloring here, since liquid versions thin the icing enough to throw off the flood consistency.
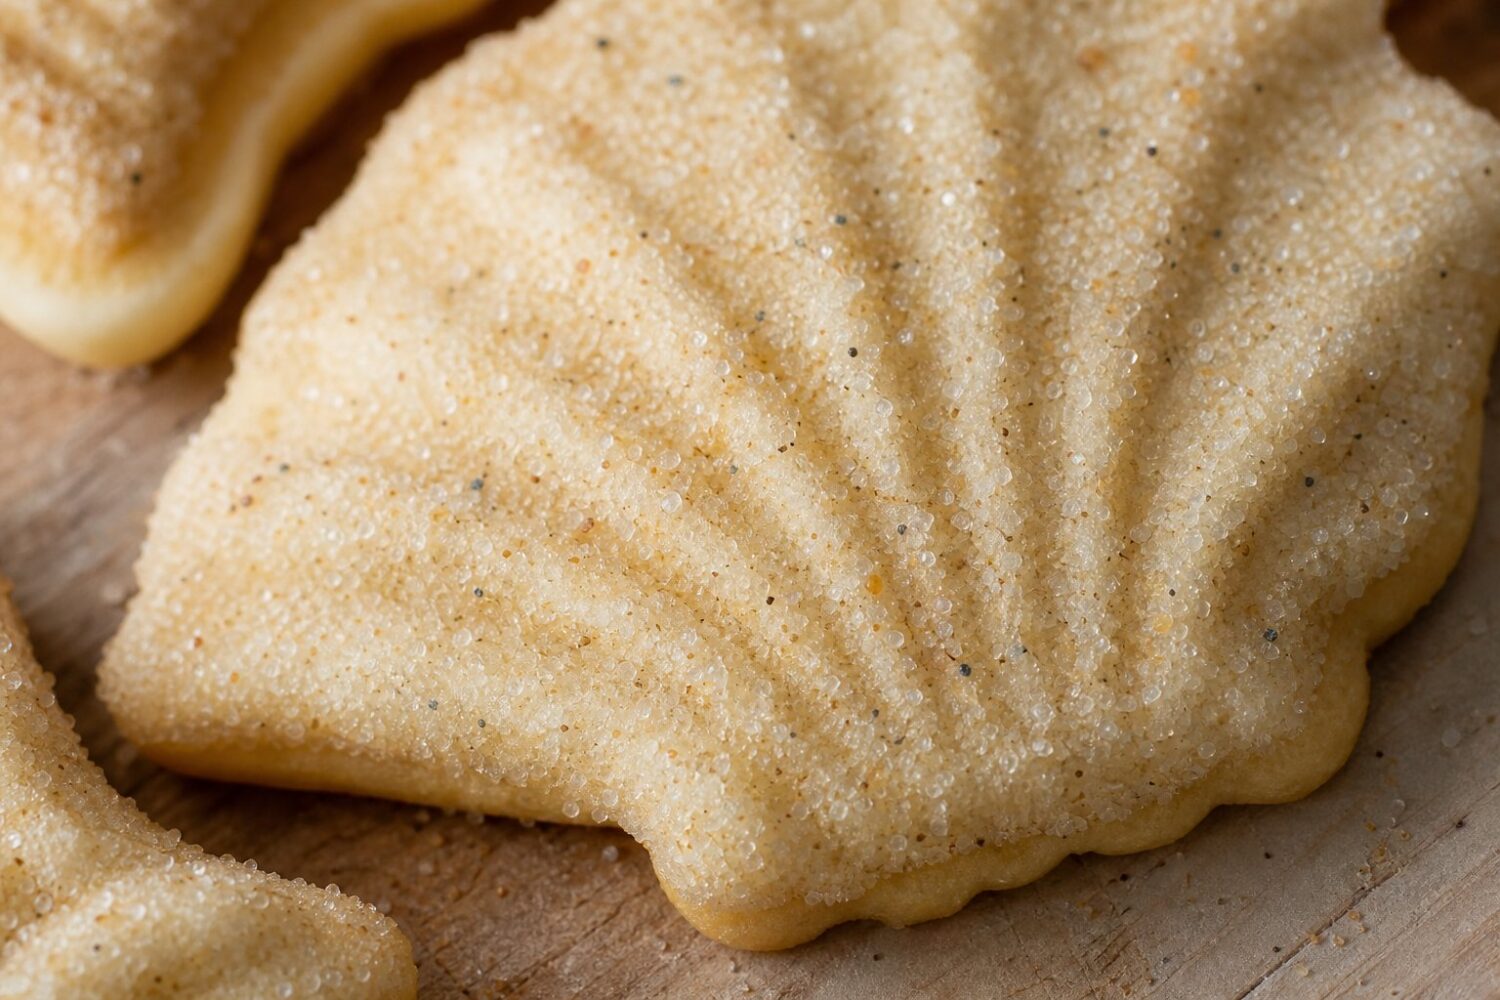
The last ingredient is the one that makes the texture work: plain white sanding sugar, the coarse kind sold for cookie decorating rather than the fine sugar used for baking. A small jar goes a long way, since only a light dusting lands on each cookie before the excess gets tapped off.
Getting Clean Shell and Starfish Shapes
Shell and starfish cutters have thin points and ridges that tear easily if the dough is too soft, so chilling matters more here than with a round or square shape. After mixing, the dough needs at least an hour in the refrigerator before rolling. Roll it between two sheets of parchment to an even quarter-inch thickness.
Rolling directly on a floured counter tends to toughen the dough, since extra flour gets worked in during multiple rerolls.
Cut the shapes cold, straight from the fridge, and transfer the cutouts to the baking sheet with a thin spatula rather than fingers, which can stretch a starfish arm or blur a shell ridge before it ever reaches the oven.
If a ridge detail on a shell cutter isn’t transferring cleanly, a few extra minutes in the freezer (cutter and all, pressed straight through frozen dough) usually produces a sharper impression than working with dough at fridge temperature.
Bake at 350°F for 9 minutes, watching the edges rather than the color of the whole cookie.
Shell and starfish points brown faster than the center of the cookie because there’s less dough mass at the tip, so pull the tray as soon as the edges look set rather than waiting for an even golden color across the whole shape.
Cool completely on the tray for a few minutes before moving to a rack, since warm cookies with thin points break easily.
Sandy Texture and Wave-Line Piping
Mix the royal icing to flood consistency: it should settle back into a smooth surface within about 10 seconds after dragging a knife through it. Tint roughly three-quarters of the batch tan for the shell and starfish cookies, and set aside a smaller portion split into two blues, one lighter and one darker, for the wave cookies.
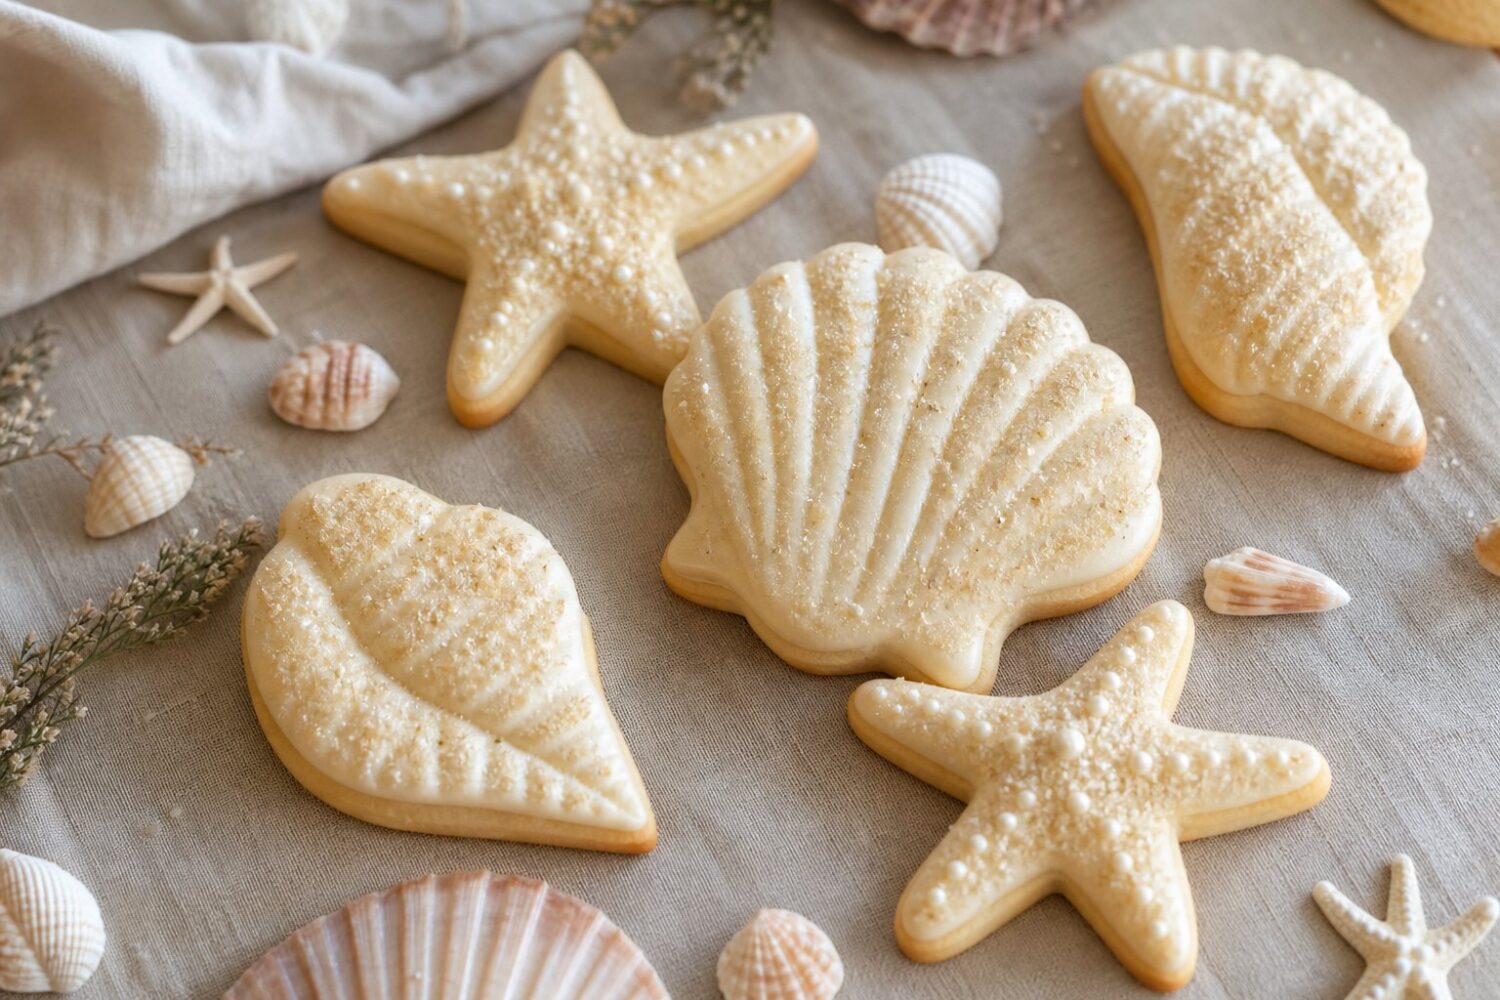
Outline each shell and starfish with a stiffer version of the tan icing using a small round tip, then flood the center with the thinner icing, using a toothpick to nudge it into corners and points.
While that icing is still wet, within the first minute or two before a skin forms, sprinkle sanding sugar over the surface from a small spoon, holding it close to the cookie so the sugar lands where intended rather than scattering across the whole tray.
Tap the cookie gently to settle the sugar into the wet icing, then tip off whatever didn’t stick. The result reads as sand grain rather than a dusted-on sparkle, which only happens when the icing is genuinely still wet underneath.
For the wave cookies, flood the whole shape with the lighter blue first. While it’s still wet, pipe two or three lines of the darker blue across the surface, spaced roughly a third of an inch apart.
Drag a clean toothpick perpendicular to those lines in one continuous motion, alternating direction with each pass, the same way a marbled cake batter gets its pattern. The wet-on-wet blending is what produces the curling wave shape — working on icing that’s already crusted over just drags color across the top without blending it.
Let every cookie dry uncovered for at least six hours, longer if the kitchen is humid, before stacking or boxing them. Icing that looks dry on the surface after an hour can still be soft underneath, and stacking too soon flattens the sanding sugar texture against whatever is on top.
Frequently Asked Questions
Can regular granulated sugar replace sanding sugar for the texture?
Granulated sugar works in a pinch, but the crystals are smaller and dissolve faster against wet icing, giving a duller, less defined texture. Sanding sugar’s coarser, more uniform crystals sit on top of the icing rather than melting into it, which is what produces the visible sandy grain.
Why did my wave lines blur into solid blue instead of streaking?
This usually means the base icing sat too long before the darker lines went on, so the wet-on-wet blend turned into a full merge rather than a controlled drag. Pipe the darker lines within a minute of flooding the base color, and pull the toothpick through in one smooth pass instead of dragging back and forth.
How far ahead can these cookies be made?
The dough can be made up to three days ahead and kept refrigerated, or frozen for up to two months. Once decorated and fully dried, the finished cookies keep well at room temperature in an airtight container for about a week, with the sanding sugar texture staying intact as long as they aren’t stacked directly on top of each other.
What size cutters work best for this design?
Cutters in the 2.5 to 3.5 inch range give enough surface area for the sanding sugar texture and wave lines to read clearly. Smaller shell cutters tend to lose detail once the ridges are flooded with icing, and starfish arms under 2 inches wide often snap during rolling or transfer to the baking sheet.
Recipe Card
Nutrition values are good-faith estimates and vary with the exact brands and quantities you use.
Ingredients
- 2.75 cups all-purpose flour
- 1 cup butter, softened
- 1 cup sugar
- 1 egg
- 1 tsp vanilla extract
- 1/2 tsp baking powder
- 4 cups powdered sugar (for icing)
- 5 tbsp meringue powder
- Blue and tan gel food coloring
- Sanding sugar (for texture)
Instructions
- Cream the butter and sugar, then beat in the egg and vanilla extract.
- Mix in the flour and baking powder until a soft dough forms. Chill for at least 1 hour.
- Preheat the oven to 350°F (175°C). Roll out the dough and cut into seashell, starfish, and wave shapes.
- Bake for 9 minutes, until the edges are just set. Cool completely before icing.
- Mix the powdered sugar and meringue powder with water to make a flood-consistency icing, tinting most of it tan for shells and a portion blue for waves.
- Flood the shell and starfish cookies with tan icing, then immediately sprinkle sanding sugar over the wet icing for texture before it sets.
- For the wave cookies, pipe alternating light and dark blue lines and drag a toothpick through while wet to create a wave pattern.
- Let the icing dry fully, at least 6 hours, before stacking or storing.