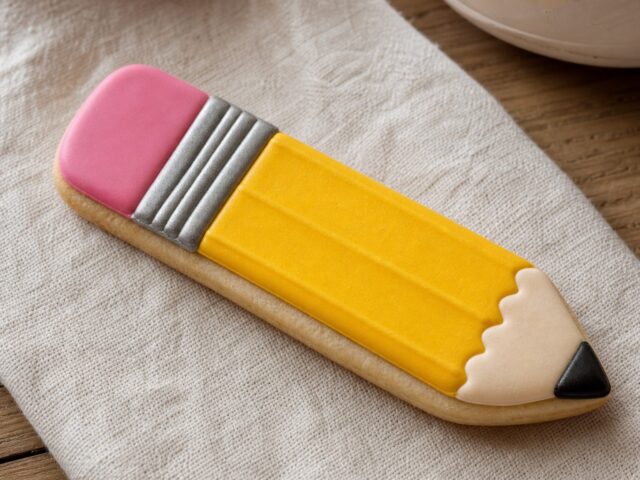
Decorated Sugar Cookie Designs
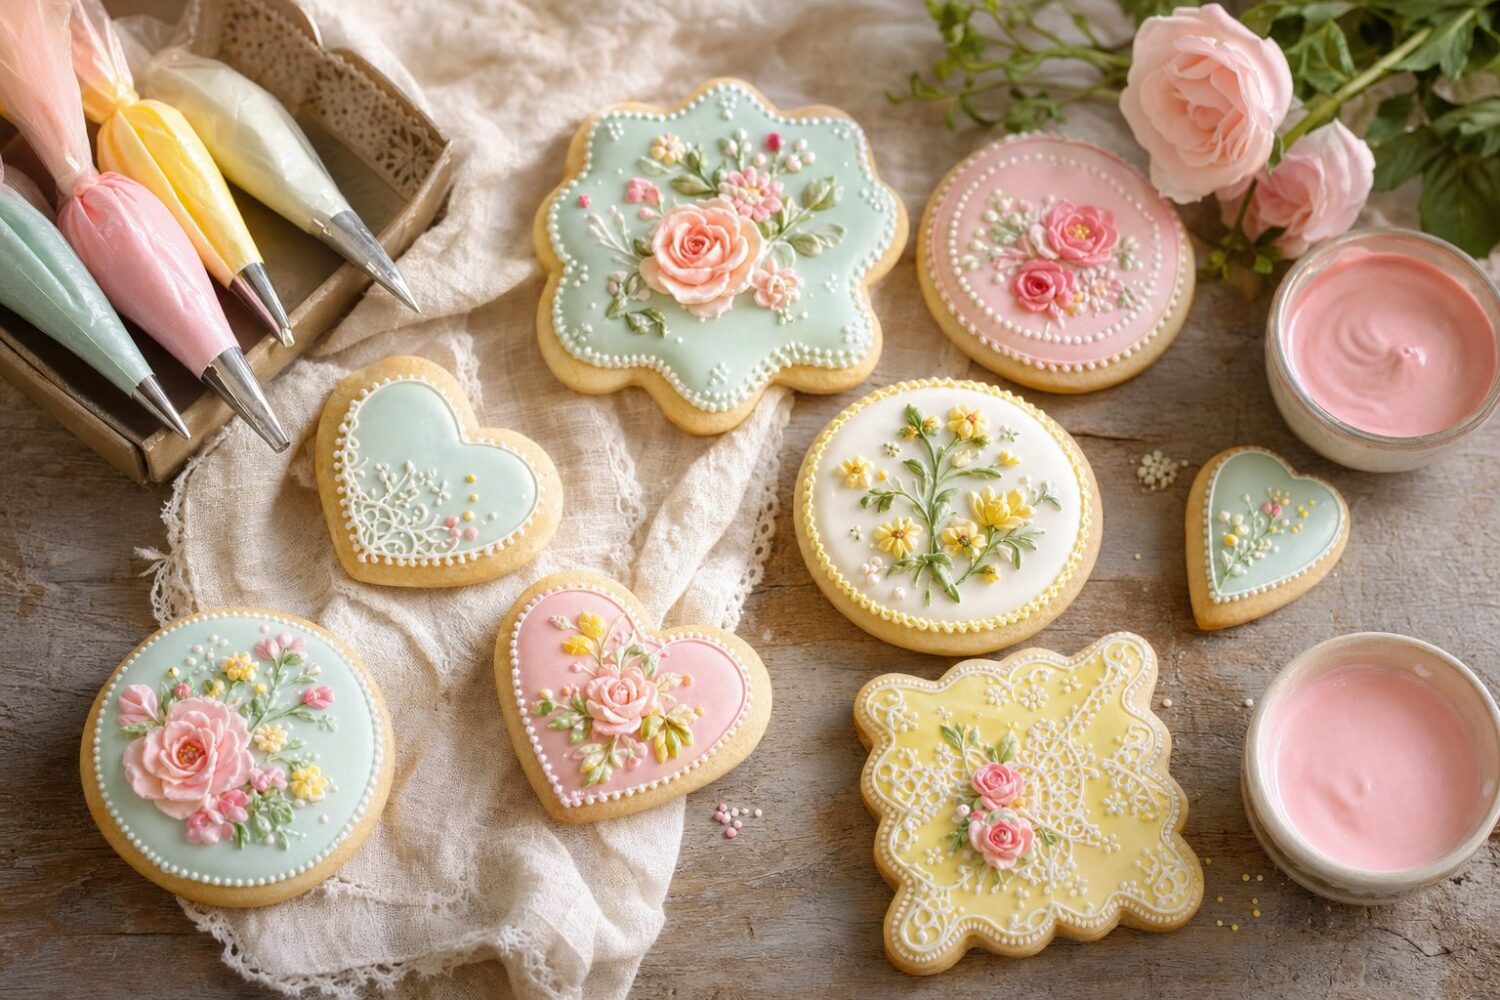
This is the decorating wing of the site: sugar cookie designs organized by occasion, with the royal icing technique that makes them work. It has almost nothing to do with nutrition and everything to do with patience — which is exactly why it exists.
A decorated cookie that looks professional and one that looks homemade usually differ by three things: icing consistency, piping order, and drying time. Every guide in this collection is built around those three, in that order.
Royal Icing Comes First
Get the consistency right and a mediocre design still looks sharp; get it wrong and even a good design turns into a smudge. The count-to-ten flood test, outline-then-flood order, and the drying windows nobody budgets for are covered step by step in the main cookie designs guide.
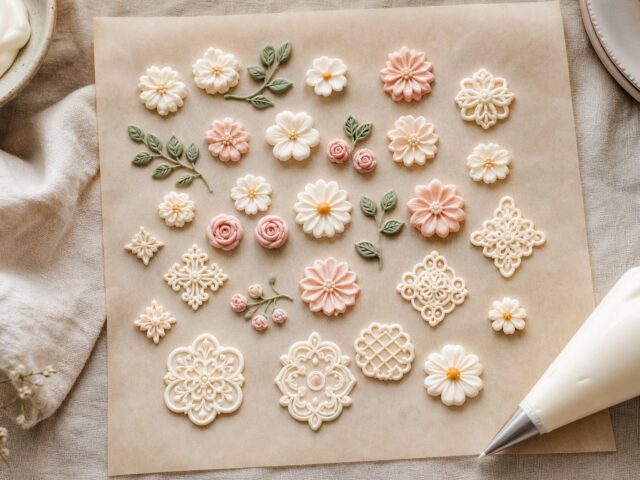
Transfers deserve their own mention. Piping motifs onto parchment ahead of time — then lifting the dried pieces onto fresh cookies — is the single most forgiving technique in decorating, and the royal icing transfers guide walks it from consistency to release without cracking.
Color is the third pillar. Gel colorant, never liquid; deep shades mixed a day ahead so they darken into place; and whites kept genuinely white by resisting the urge to over-mix. Small habits, visible results.
Designs by Occasion
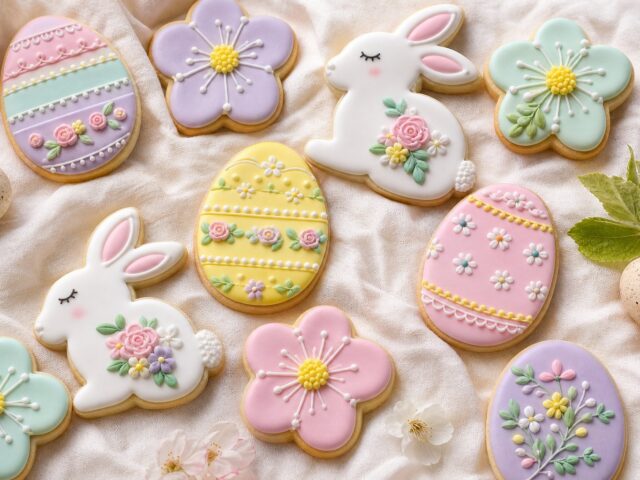
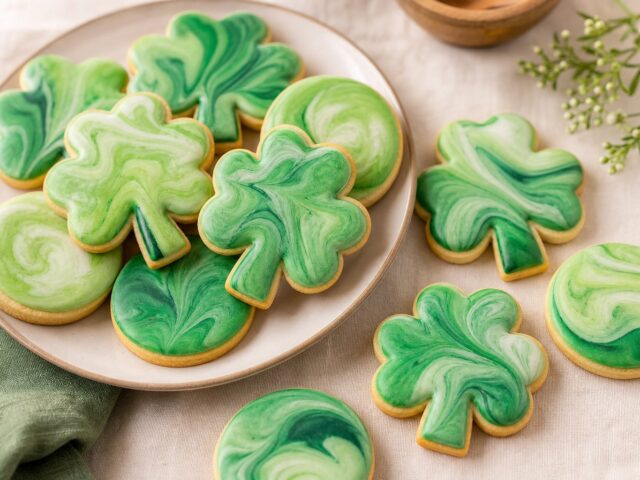
The occasion guides are where technique turns into a finished tray. Easter cookies cover pastel work and egg patterns; the St. Patrick’s Day set teaches the green ombre wet-on-wet technique that looks far harder than it is.
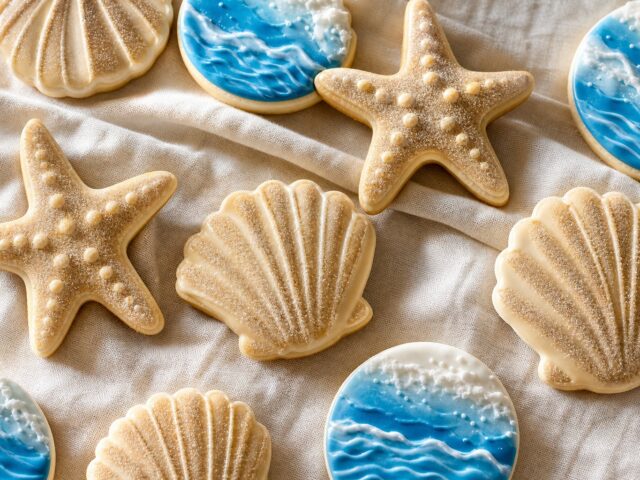
Summer belongs to the beach-themed seashells with their sanded-sugar texture trick, and Father’s Day neckties prove that navy and charcoal icing can look tailored rather than gloomy.
Each guide includes the piping order — which sections flood first, what dries overnight, what can be rushed with a fan and what absolutely cannot. Order is the difference between crisp borders and colors bleeding into each other.
Tools That Matter (and Ones That Don’t)
The honest kit is short: a couple of piping bags, two round tips, a scribe or a toothpick, and parchment. A projector, a drying rack tower, and a hundred cutters are all pleasant upgrades, but none of them fix consistency problems — and consistency causes most failures.
Cookie choice matters more than most guides admit. A sturdy, flat-topped sugar cookie that holds its shape in the oven gives icing a level canvas; a domed or spreading cookie fights every design piped onto it. Chill the cut shapes before baking and the edges stay sharp.
Meringue powder is the one specialty purchase worth making. It stabilizes royal icing without raw egg whites, keeps for ages, and behaves identically batch to batch, which matters when a design needs two days and three consistencies.
Where to Start
Begin with the cookie designs hub for the full technique foundation, then pick whichever occasion is closest on the calendar. Decorating skill transfers completely between designs — the outline discipline learned on an Easter egg is the same discipline that pipes a necktie.
And if a batch goes sideways, it still tastes like a sugar cookie. There are worse failure modes in this world than an ugly cookie that disappears by the end of the afternoon anyway.
How Long a Decorated Batch Actually Takes
The honest timeline is the thing most decorating guides leave out, and it is the reason a first attempt so often ends badly. Baking and cooling is about ninety minutes. Mixing and colouring icing is another thirty. Outlining and flooding twenty cookies takes an hour if the shapes are simple and considerably longer if they are not.
Then the drying does what it wants. A flooded cookie needs six to eight hours before it can be stacked or bagged without damage, and adjacent colours need twenty minutes between them or they bleed into one another. Neither of those waits can be hurried with a fan or a warm oven without dulling the surface.
Which means a decorated batch is a two-evening project rather than an afternoon one. Baking on the first evening and decorating on the second is not just more relaxed, it produces better results: a cookie that has firmed up overnight takes icing more cleanly than one baked that morning.
Frequently Asked Questions
What consistency should royal icing be for flooding?
Thin enough that a knife-drawn line through the surface closes over in about ten seconds. Count it rather than judging by eye, because the window between too thick and too thin is narrower than it looks. Faster than ten seconds and the icing runs off the edges of the cookie; slower and it stays lumpy and keeps the marks of the piping bag. Adjust with water a quarter teaspoon at a time, and do it in a small bowl rather than the whole batch.
Why do my icing colours bleed into each other?
Two wet flood colours were placed against one another. Each section needs roughly twenty minutes to form a surface skin before the next colour goes beside it. The exception is deliberate wet-on-wet work, like a white highlight dropped into a still-wet red apple, which has to happen within a couple of minutes precisely so the colours do merge into one flat surface. Bleeding gets worse in a humid kitchen, where skinning takes longer than twenty minutes.
How far ahead can decorated sugar cookies be made?
Baked and undecorated, they keep two days in a tin and freeze for three months. Fully decorated and properly dried, they hold their looks for about a week in a sealed container in a single layer. What does not work is decorating on the day they are needed, because royal icing needs six to eight hours to harden enough to stack or bag.
Should decorated cookies be stored in the fridge?
No. Condensation forms on the surface as the cookies warm back up, and it pits dried royal icing and dulls the colours. Room temperature in a sealed container, in a single layer if there is any raised detail, is the right answer. Freezing works for undecorated cookies but not for finished ones.
Is meringue powder really necessary?
It is the one specialty purchase worth making. Royal icing can be made with raw egg whites, but it behaves differently batch to batch and raises a food-safety question for cookies going to a school or a party. Meringue powder keeps for a long time, performs identically every time, and removes the raw-egg concern, which matters when a design needs two days and three consistencies.
What is the difference between the cookie designs hub and this collection?
The hub is the technique foundation: icing consistency, piping order, colour handling and drying, in one place. This collection is those techniques applied to specific occasions, so each guide assumes the foundation and spends its time on the piping order for that particular design. Starting with the hub and then picking whichever occasion is next on the calendar is the sequence that wastes the least icing.