
Royal Icing Transfers Made Easy — a Step-by-Step Guide
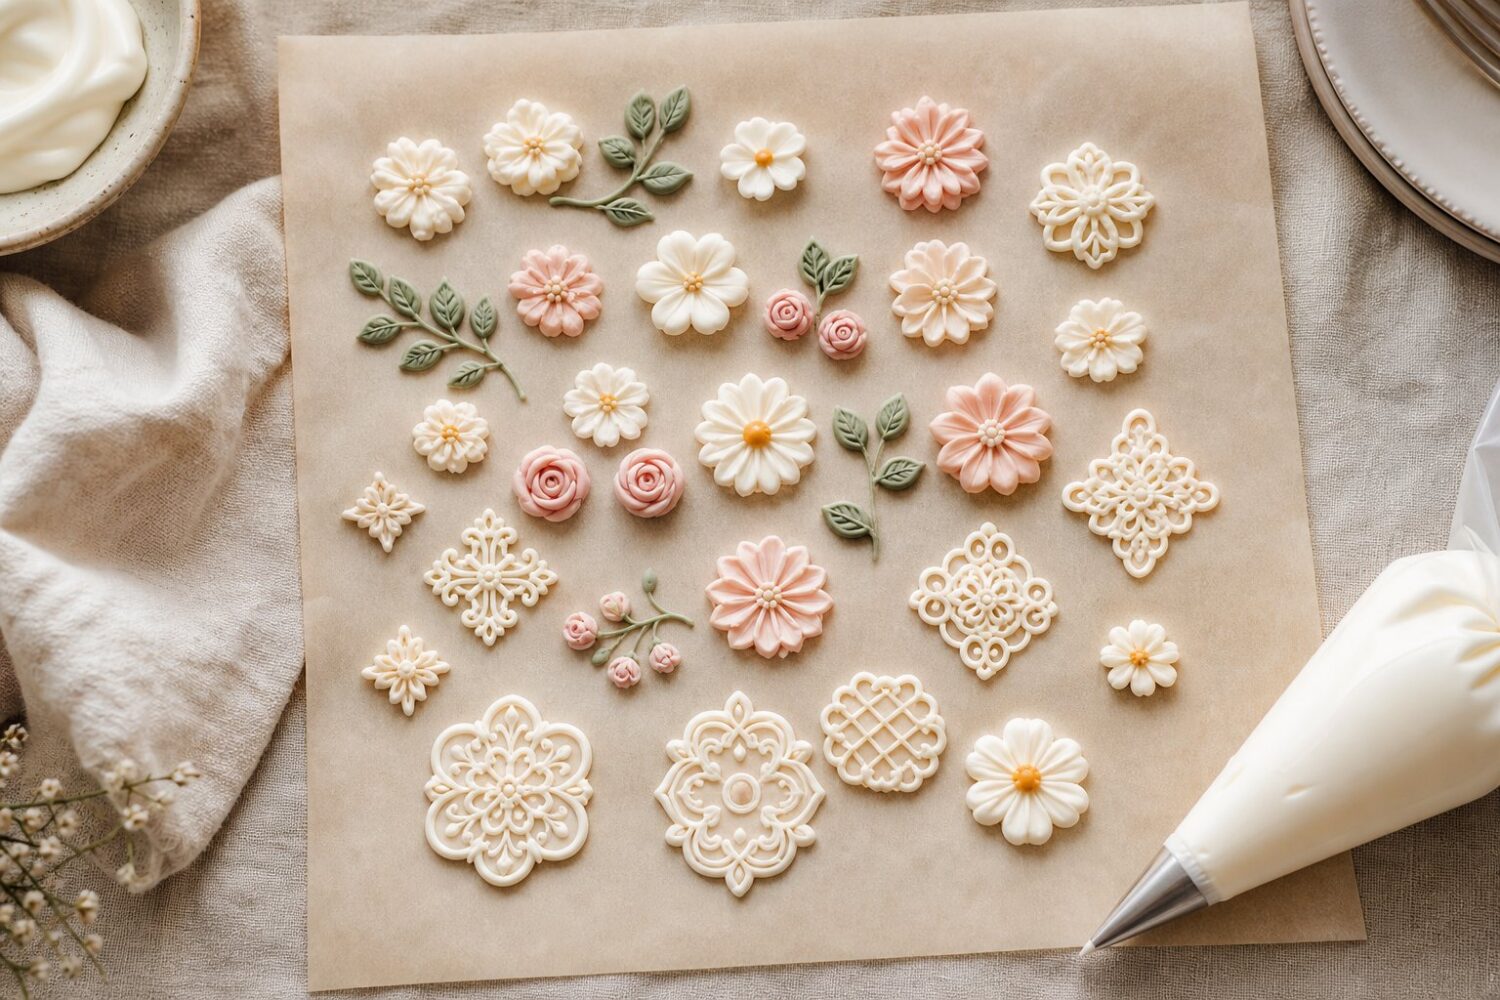
A royal icing transfer is a small piece piped directly onto parchment paper or acetate, left to dry on its own, then peeled off and set onto a cookie or cake. It’s the trick behind those crisp little flowers, bows, and monograms that look like they were stamped on rather than piped by hand.
Instead of piping a design directly onto a curved or uneven cookie surface, the shape is built flat, on a surface it can release from cleanly, and moved into place only once it’s solid.
This matters most when the final placement is tricky. Piping a tiny bow onto the side of a cake, or a lace medallion onto a domed cookie, is far easier with a transfer than trying to work directly on the surface.
It also means a batch of identical shapes can be made ahead of time and stored until a big decorating day, rather than piped one at a time under pressure.
What You’ll Need
Parchment paper works for most transfers, but acetate (the clear plastic sheet sold in craft and cake supply shops) gives a smoother, glossier back once the transfer is peeled off. Either one needs to lie completely flat — taped down at the corners so it doesn’t shift while piping.
Underneath the parchment or acetate, a printed template does the real work. A simple line drawing of the shape — a snowflake, a bow, a set of letters — printed on regular paper and slid under the clear sheet gives something to trace. The template shows through both parchment and acetate clearly enough to pipe an accurate outline without guessing at proportions.
Piping bags fitted with small round tips (a size 1 or 2 for fine detail, a size 3 for filling in larger areas) handle the actual work.
A few bags in different colors, a scribe tool or toothpick for nudging icing into corners, and a flat tray or cookie sheet to carry the finished piece to a drying spot round out the setup.
Getting the Consistency Right
Transfer icing sits between stiff piping icing and thin flood icing. It needs to be loose enough to self-level and smooth over slightly after piping, so the outline doesn’t stay sharply ridged, but thick enough that it doesn’t spread past the lines of the template.
A useful test: drag a knife or spatula through the icing in the bowl. The line should fill back in within about 10 to 15 seconds, not instantly and not never.
Another way to check is to pipe a small dot on a plate. It should hold a slight peak for a second or two, then settle into a smooth dome on its own. If it holds a sharp point and never settles, it’s too stiff and will leave texture lines in the finished piece.
If it flattens out immediately and spreads wide, it’s too thin and will run past the template edges or thin out in the middle of larger areas.
Building a transfer usually means piping the outline first in this medium consistency, then filling the center with the same batch, using the scribe tool to push icing into any narrow points or corners before it starts to set.
Working in one color at a time and letting each section firm up for a few minutes before adding an adjacent color keeps colors from bleeding into each other.
Drying Time and Common Mistakes
Full drying takes 24 to 48 hours, depending on humidity, thickness, and how many layers of icing were built up. A thin, single-color transfer might be firm enough to handle after a day. A layered piece with multiple colors and some height to it needs the full two days before it’s safe to peel and move.
Rushing this step is the single most common cause of transfers snapping or warping during removal.
Cracking usually comes from moving a transfer before it’s fully dry all the way through — the surface can look and feel set while the underside is still soft, and any flex at that stage creates a fracture line.
Letting transfers sit somewhere dry and undisturbed, away from steam or an open window, for the full drying window avoids most of this.
Sticking to parchment happens less often than sticking to acetate, oddly enough, but both can trap a transfer if it’s peeled too early or peeled straight up instead of at a shallow angle.
Working a thin offset spatula gently under one edge first, then peeling the parchment or acetate away from the icing rather than pulling the icing away from the sheet, reduces the risk of a crack right at the edge.
Humidity is the other variable worth watching. On a muggy day, transfers can take noticeably longer to set, and a fan pointed nearby (not directly at the pieces, just moving air through the room) speeds things along without drying them unevenly.
Frequently Asked Questions
Can royal icing transfers be made in advance and stored?
Yes. Once fully dry, transfers store well in a single layer in an airtight container, with parchment between layers if stacking is unavoidable. Kept away from humidity, they’ll hold for several weeks before use.
Why did my transfer crack when I peeled it off?
Cracking almost always means the piece wasn’t dry all the way through, even if the top surface felt firm. Peeling straight up instead of at a shallow angle also puts stress right at the thinnest points, like narrow petals or lettering.
What’s the difference between transfer consistency and flood consistency?
Flood icing is thinner and meant to spread on its own to fill a cookie surface evenly. Transfer icing is slightly stiffer so it holds a piped shape with only a brief settle, since there’s no cookie edge to contain it.
Can transfers be attached to a cookie with wet icing?
A small dot of fresh royal icing on the back of the dried transfer works as glue, pressed gently onto the cookie once the base icing there has crusted over. This keeps the transfer from sliding before it’s set in place.
A tray of finished transfers, lined up and fully hardened after their two days, will come away from the acetate with almost no resistance — a clean, glassy-backed piece ready to set onto whatever it was made for.