World’s Healthiest Cherry Pie — the No Sugar Added Recipe
Cherry season runs short, so this pie leans on that window instead of fighting it. The crust is built from almond flour and oat flour rather than white flour, and the filling gets its sweetness almost entirely from the cherries themselves, with just a small assist from monk fruit sweetener to round out the tart edges.
No refined sugar goes into the dish at any point, and the result still slices clean and holds its shape once it has cooled.
This version came together after one too many store-bought pies left a sugar hangover before the second slice. Almond flour brings a slightly nutty flavor that pairs naturally with cherries, and oat flour keeps the dough from turning greasy or crumbling apart when it’s rolled.
Between the two, the crust bakes to a color closer to toasted wheat than the pale, sandy look gluten-free crusts sometimes get.
Ingredients You’ll Need
For the crust: 1.5 cups almond flour, 1 cup oat flour, a pinch of salt, 1/2 cup cold coconut oil or vegan butter cut into small pieces, and 3 to 4 tablespoons of ice water.
The oil needs to stay cold right up until it’s cut into the flour, so pulling it from the fridge at the last minute matters more than it sounds like it would.
For the filling: 5 cups of pitted cherries (fresh or frozen both work, more on that below), 1/3 cup granulated monk fruit sweetener, 3 tablespoons cornstarch, 1/2 teaspoon almond extract, and 1 tablespoon lemon juice. The lemon juice isn’t just for brightness, it also keeps the cherries from tasting flat once the filling has baked down and thickened.
Building a Crust That’s Actually Gluten-Free
Whisk the almond flour, oat flour, and salt together in a large bowl before the fat goes in. Add the cold coconut oil in small pieces and work it into the dry ingredients with your fingers or a pastry cutter until the mixture looks like coarse crumbs, with pieces roughly pea-sized.
Almond flour has more natural oil than wheat flour, so the dough comes together faster than a traditional pastry, and it’s easy to overwork it without noticing.
Add the ice water one tablespoon at a time, stirring gently after each addition. Stop as soon as the dough holds together when pressed, which usually happens around 3 tablespoons, sometimes needing the fourth on a drier day. Shape it into a disc, wrap it, and chill for at least 20 minutes.
This rest matters more here than in a wheat crust, since oat flour needs time to hydrate fully or the baked crust turns slightly gritty.
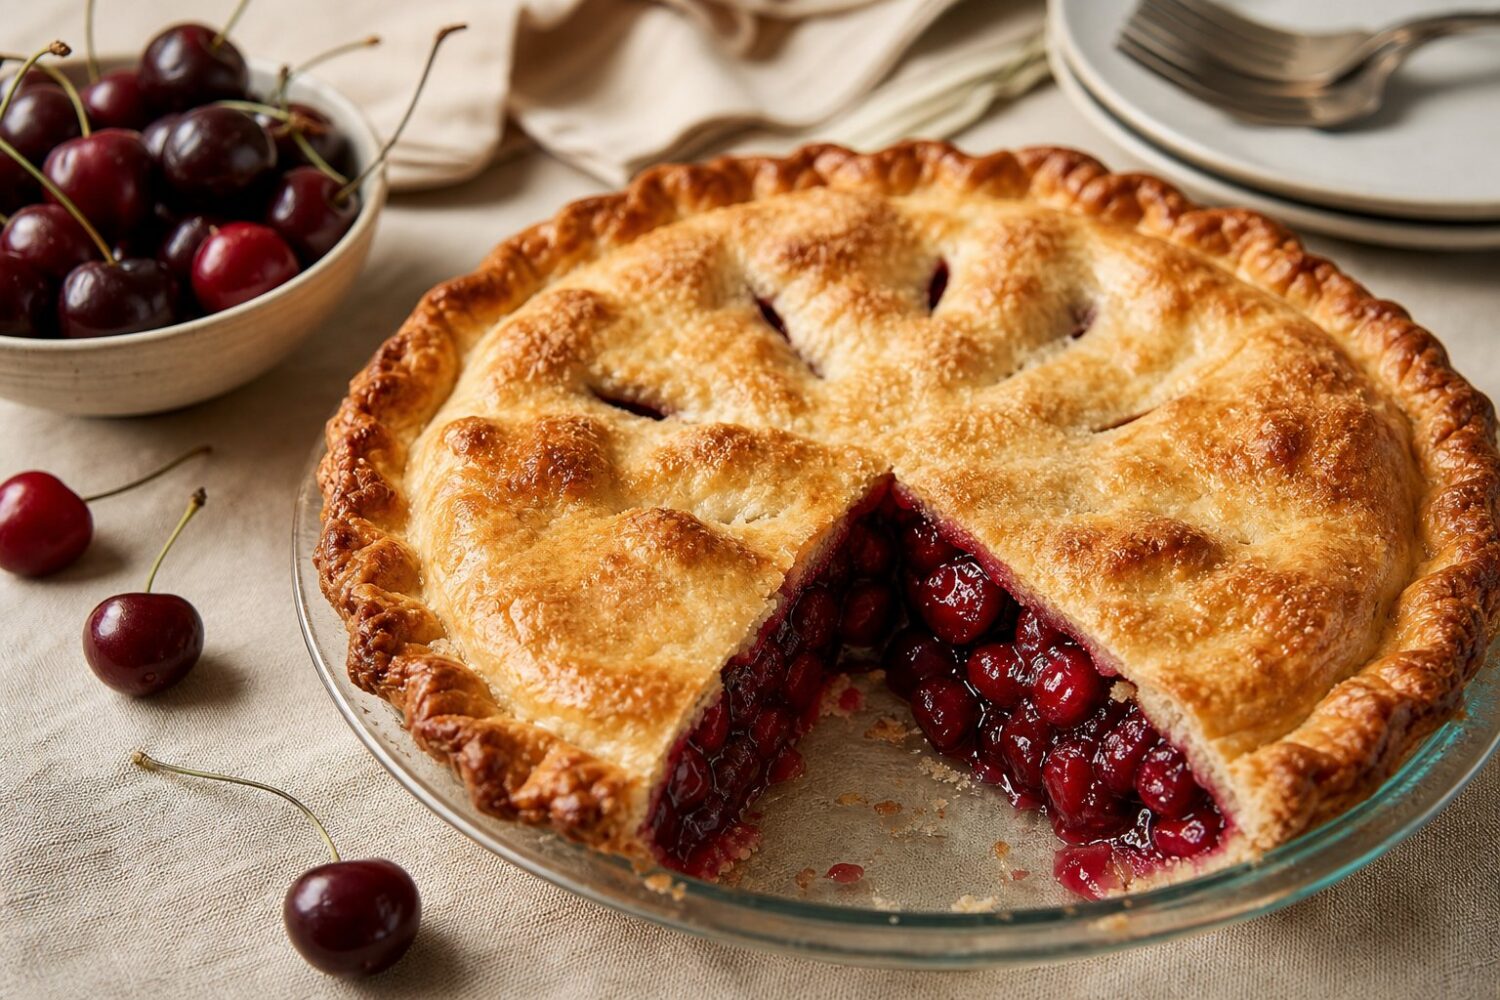
When it’s time to fill the pie, press the dough directly into a 9-inch pie dish rather than rolling it out on a counter. Gluten-free dough tears easily under a rolling pin, but it presses into shape without complaint.
Push it evenly up the sides, patch any thin spots with extra dough, and it will bake into a crust indistinguishable from one made with rolled wheat pastry.
A Filling Sweetened by the Fruit, Not the Sugar Bowl
Fresh cherries give the best texture here, holding a slight bite even after 45 minutes in the oven. Sweet varieties like Bing or Rainier work well; sour cherries need an extra tablespoon or two of monk fruit sweetener to balance out.
Pit them over a bowl to catch the juice, since that juice goes straight into the filling along with the fruit.
Frozen cherries work too, and they’re often the more practical choice outside of peak summer. Thaw them fully first and drain off the excess liquid, or the filling turns watery no matter how much cornstarch goes in.
Frozen fruit tends to break down a bit more during baking, giving a slightly softer, jammier filling rather than the fresh version’s firmer bite.
Either way, toss the cherries with the monk fruit sweetener, cornstarch, almond extract, and lemon juice, and let the mixture sit for 5 minutes before pouring it into the crust so the cornstarch starts to dissolve rather than clumping.
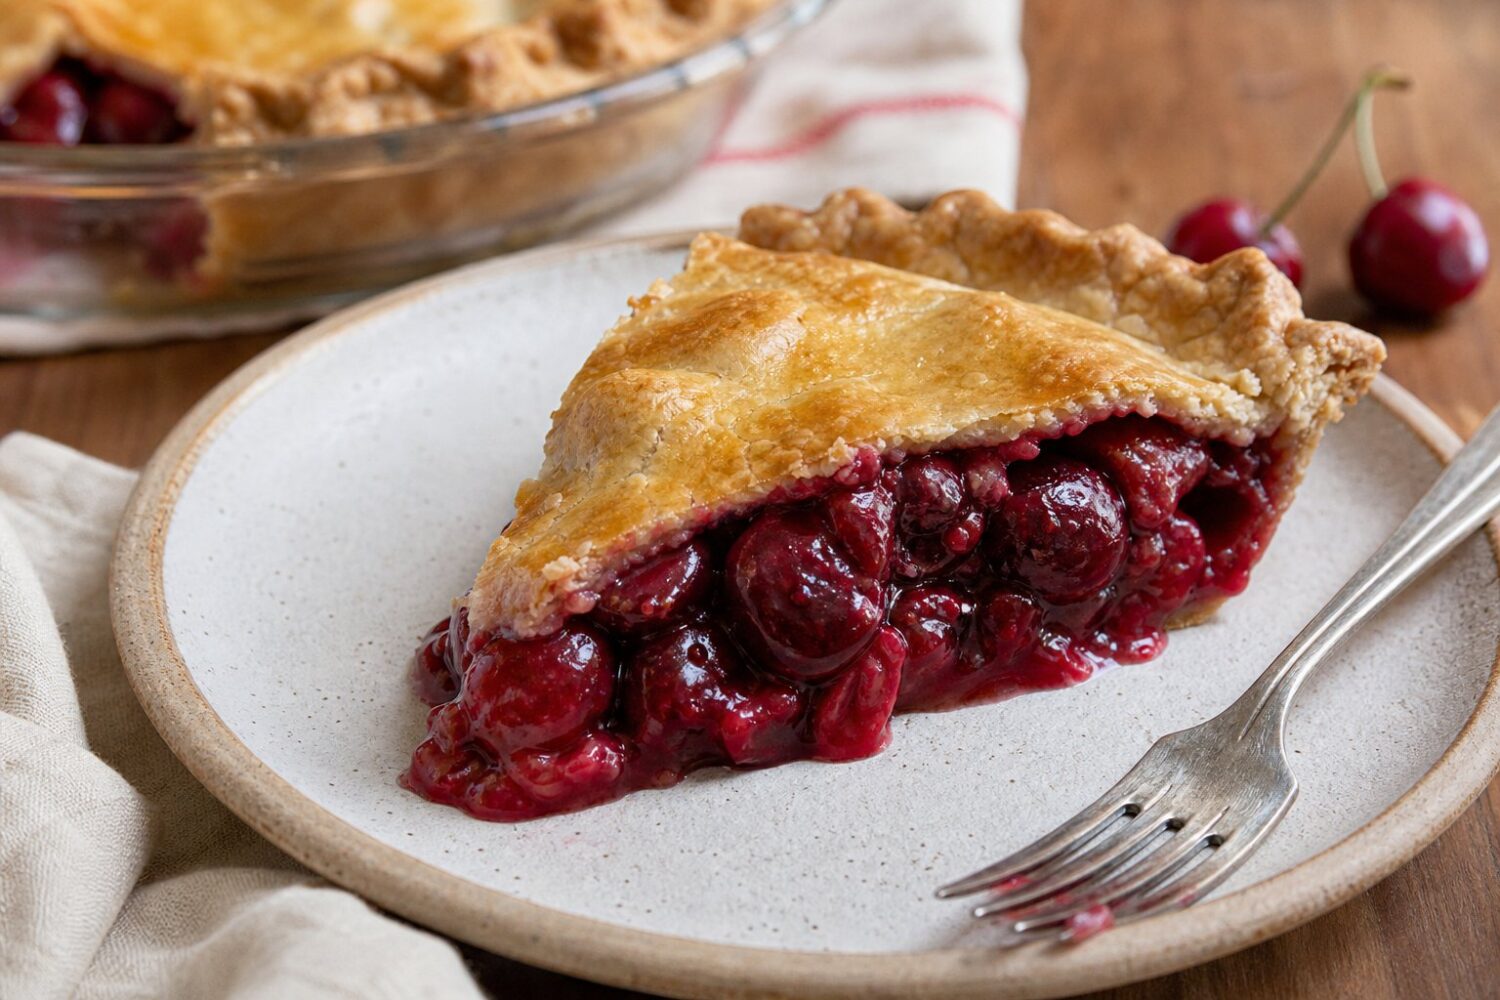
At 8g of sugar per slice, nearly all of it is coming from the cherries themselves, not an added source. A slice runs about 180 calories with 3g of protein, most of that protein carried by the almond flour in the crust.
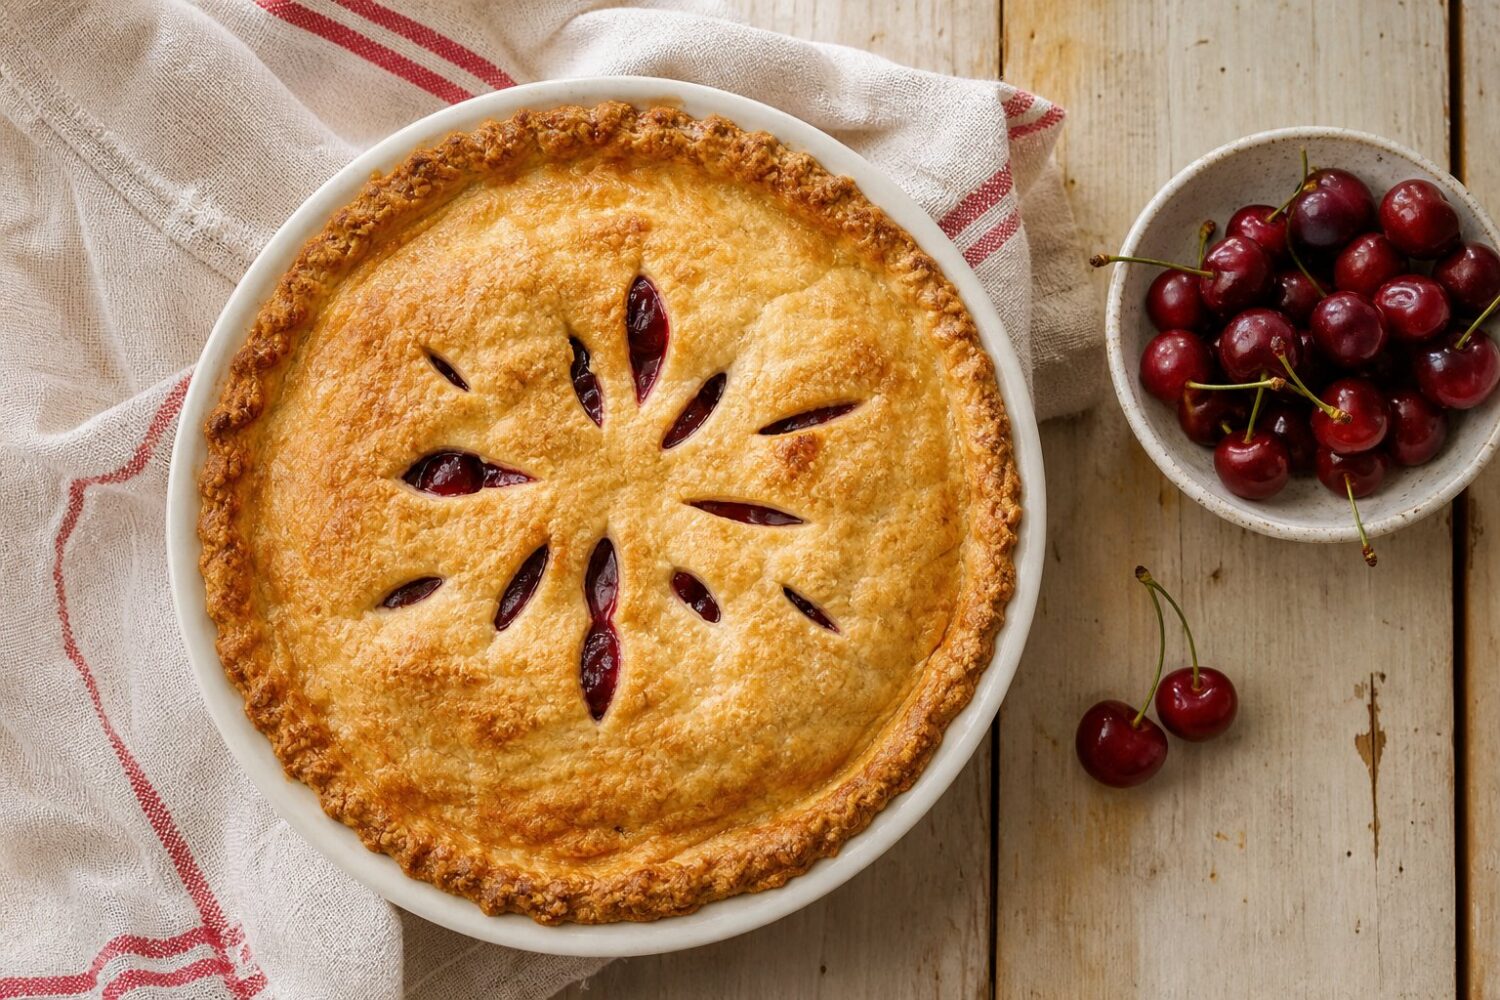
Bake at 375°F for 45 minutes, until the filling bubbles at the edges and the top of the crust turns a deep golden brown. If the edges brown too fast, a ring of foil over them for the last 15 minutes keeps things even.
Let the pie cool for a full 2 hours before cutting; the filling is still setting during that time; and a slice cut too early will run rather than hold.
Frequently Asked Questions
Can I use a different flour blend for the crust?
A store-bought gluten-free 1:1 blend can substitute for the oat flour, though the texture turns slightly more crumbly and less nutty than the almond-oat combination. Keep the almond flour portion as written, since it’s doing most of the work holding the dough together.
Why did my filling turn out runny?
This usually comes down to frozen cherries that weren’t drained well enough, or cutting the pie before it finished cooling. Cornstarch needs both heat and time to fully thicken; a pie sliced at the one-hour mark hasn’t given the filling a chance to set, even if it looked done coming out of the oven.
Can this pie be made ahead of time?
Yes. It keeps well at room temperature for about a day, or refrigerated for up to 4 days, and the filling actually firms up further after a night in the fridge. Bring slices back to room temperature or warm them briefly before serving for the best texture.
Is monk fruit sweetener necessary, or can it be left out?
Sweet cherries have enough natural sugar to carry the filling on their own, so the monk fruit sweetener can be reduced by half or omitted entirely if a more tart pie is preferred. Sour cherry varieties need it to avoid a filling that tastes closer to unsweetened compote.
Recipe Card
Nutrition values are good-faith estimates and vary with the exact brands and quantities you use.
Ingredients
- 1.5 cups almond flour
- 1 cup oat flour
- 1/2 cup cold coconut oil or vegan butter
- Pinch of salt
- 3-4 tbsp ice water
- 5 cups pitted fresh or frozen cherries
- 1/3 cup granulated monk fruit sweetener
- 3 tbsp cornstarch
- 1/2 tsp almond extract
- 1 tbsp lemon juice
Instructions
- Mix the almond flour, oat flour, and salt for the crust. Cut in the cold coconut oil until crumbly, then add ice water a tablespoon at a time until the dough holds together. Chill for 20 minutes.
- Preheat the oven to 375°F (190°C).
- Toss the cherries with the monk fruit sweetener, cornstarch, almond extract, and lemon juice.
- Press the chilled dough into a 9-inch pie dish and pour in the cherry filling.
- Bake for 45 minutes, until the filling bubbles and the crust turns golden. Cover the edges with foil if they brown too quickly.
- Cool for at least 2 hours before slicing so the filling sets.