
Protein Tiramisu Cake — the No-Bake Espresso Recipe
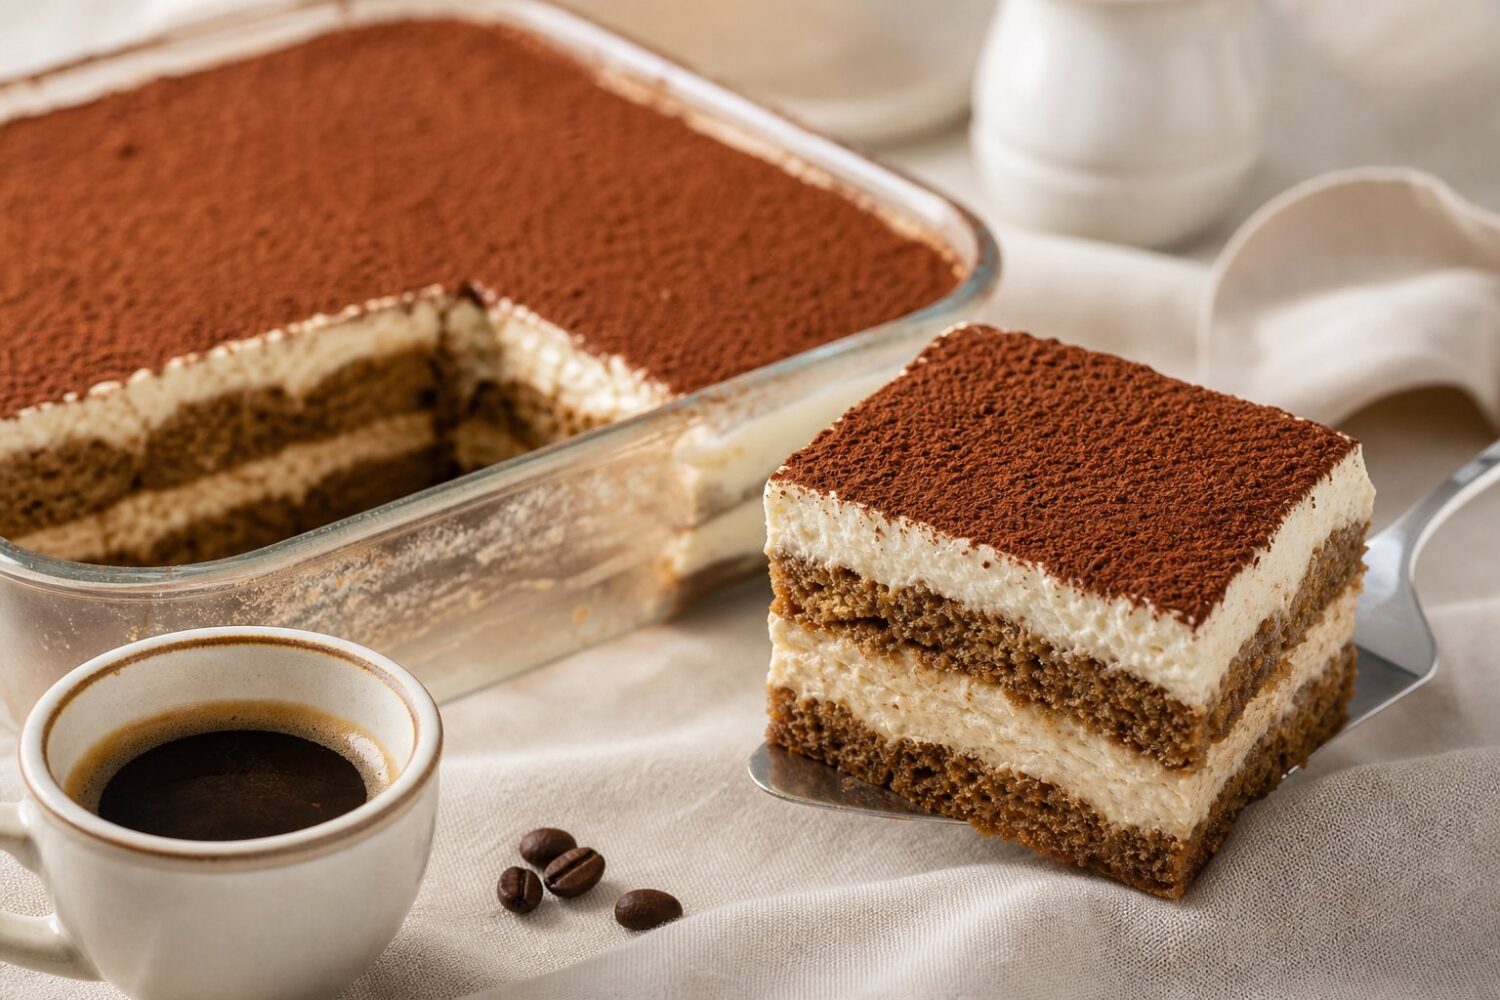
The espresso for this one comes straight out of a Nespresso machine, pulled as two short shots and left to cool on the counter while the rest of the layers come together. That’s really the only “cooking” this recipe asks for. Everything else is stirring, dipping, and stacking, then handing the dish over to the fridge for the night.
Traditional tiramisu leans on raw egg yolks, mascarpone, and a heavy hand with sugar. This version swaps in a protein-boosted filling built from light cream cheese and vanilla protein powder, so a slice lands closer to a snack than a splurge.
It still tastes like tiramisu: coffee-soaked layers, a soft cocoa dusting, a filling that holds its shape when you cut into it.
Ingredients You’ll Need
The full amounts are in the recipe card below, but here’s the shape of the ingredient list. Ladyfinger cookies form the base layers; a gluten-free version works fine if that’s a household need, since the dipping and stacking method doesn’t change. Brewed espresso, cooled to room temperature, does the soaking.
Hot espresso will turn the cookies mushy almost instantly, so give it time on the counter or a few minutes in the fridge.
For the filling: light cream cheese, a couple of scoops of vanilla protein powder, honey for sweetness, and a splash of vanilla extract. Whey-based powders tend to blend smoother than plant-based ones here, though either works if that’s what’s in the cabinet. Cocoa powder goes on last, dusted over the top right before serving rather than mixed in.
Quantities matter more than usual in a recipe like this, since the protein powder is doing structural work as well as flavor work. Too little and the filling stays loose enough to seep into the ladyfingers overnight, leaving a soupy bottom layer. Too much and the texture turns pasty instead of creamy.
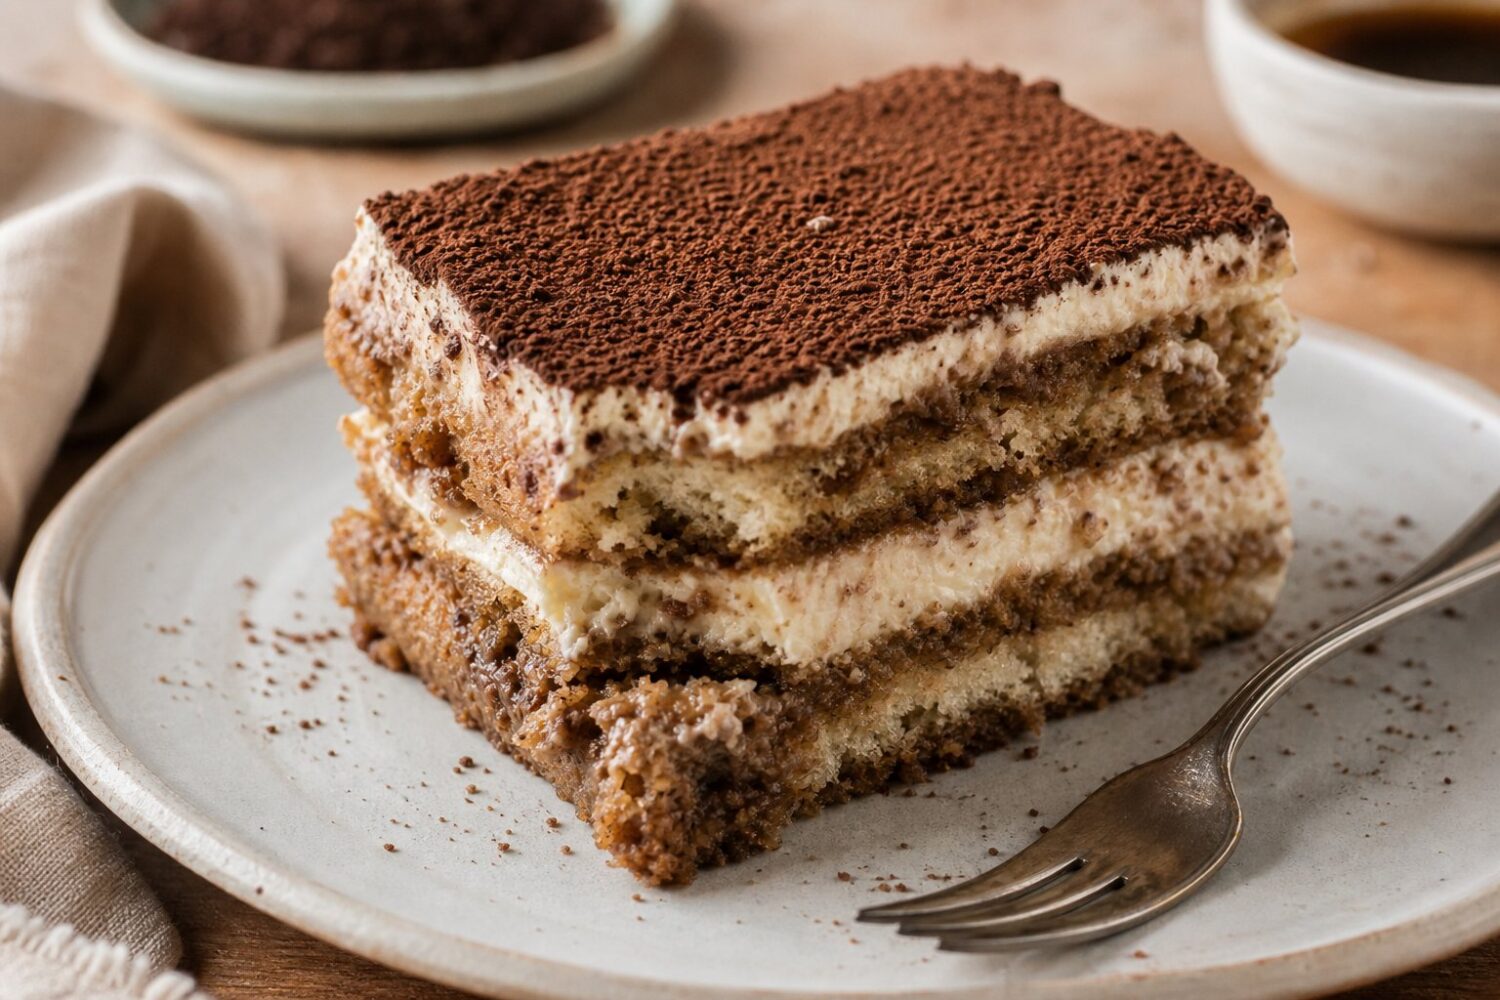
Two level scoops against one cup of light cream cheese is the balance that’s held up across a few rounds of testing, though brands vary enough in density that it’s worth checking the scoop size printed on the tub before measuring.
Why the Filling Works Like a Protein Boost
Classic mascarpone filling is mostly fat and sugar with very little protein to speak of.
Swapping in light cream cheese cuts a good chunk of that fat, and the protein powder does double duty — it adds body to the texture while pushing each serving up to around 12 grams of protein, without turning the filling gritty or chalky if it’s beaten in slowly.
Beat the cream cheese first until it’s fully smooth, then add the protein powder in two additions rather than all at once. Adding it gradually keeps the mixture from clumping, since protein powder tends to seize up when it hits cold cream cheese all in one go.
The honey and vanilla go in last, once the texture is already even. The result holds its shape on a spoon but still spreads easily between layers of ladyfingers.
Make It the Night Before
This is not a recipe to rush. The layers need a full overnight chill in the refrigerator, and skipping ahead to serve it after just an hour or two means dry cookies sitting stiffly under a loose filling instead of the soft, cohesive slices tiramisu is known for.
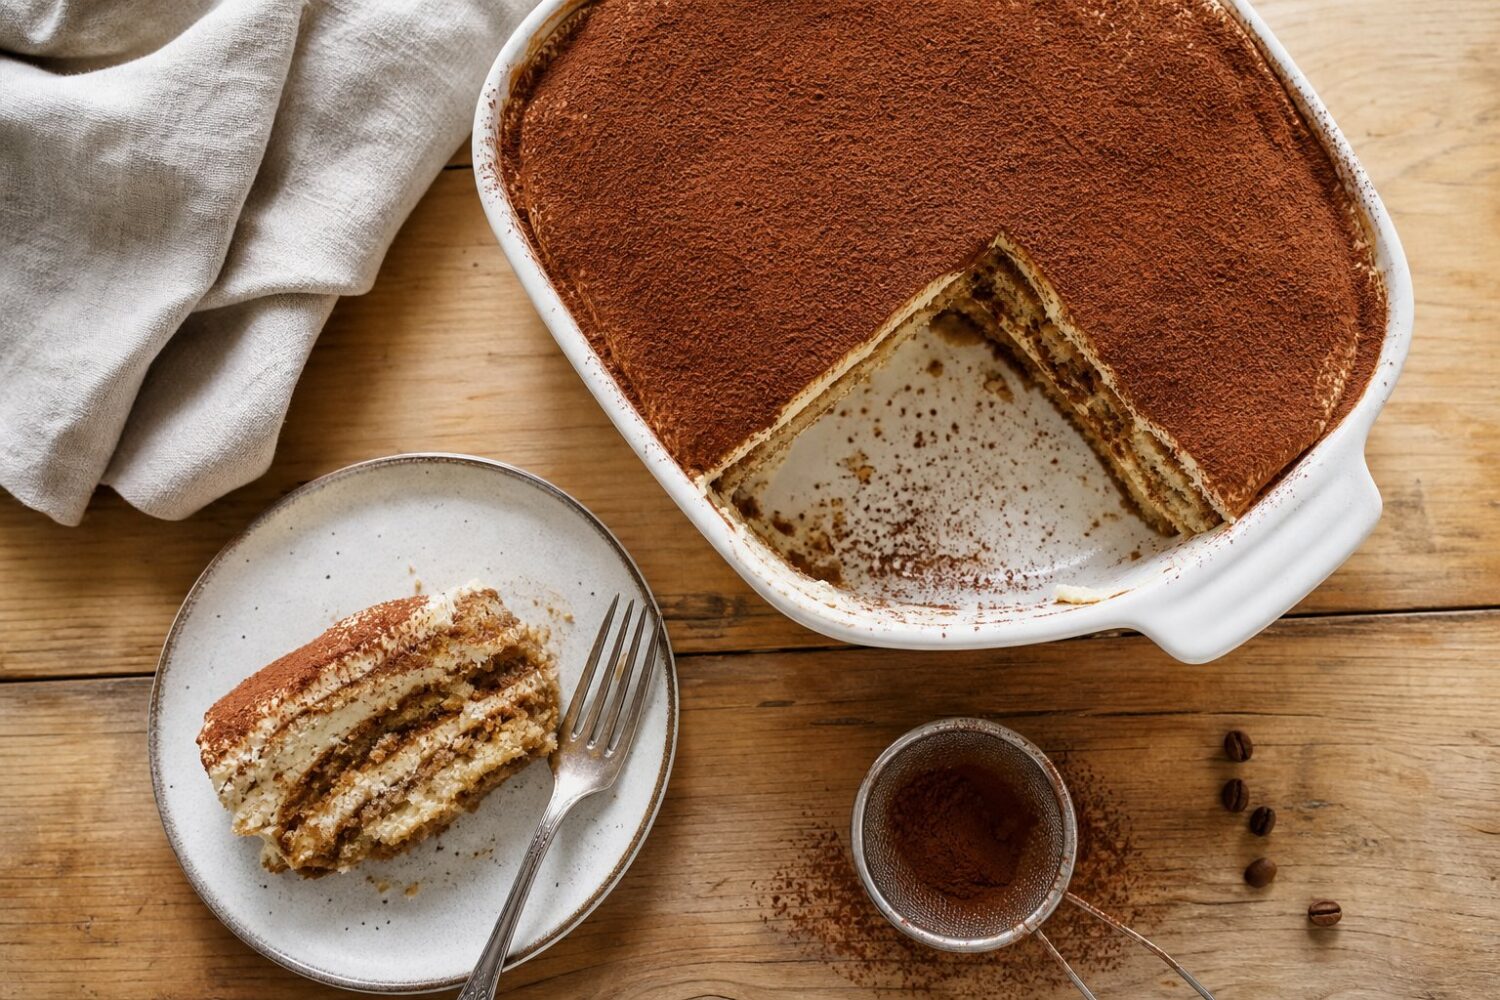
Overnight is what lets the espresso soak all the way through each ladyfinger and lets the filling firm up enough to hold a clean cut.
Cover the dish tightly with plastic wrap or a fitted lid before it goes in the fridge, both to keep the top layer from drying out and to stop it from picking up other smells.
Hold off on the cocoa dusting until serving time — cocoa powder left sitting overnight on a moist surface tends to go slightly gummy instead of staying light and powdery.
Nine servings from an 8×8-inch dish means the slices are modest, which works in this recipe’s favor. A smaller piece keeps the protein-to-sugar ratio in check while still delivering two full layers of filling and cookie in every cut.
Dipping speed is the other detail that separates a clean set of layers from a mushy one. Each ladyfinger only needs a quick pass through the espresso, roughly one second per side, not a soak.
The cookie should feel damp all the way through when you bite into a test piece, not saturated to the point of falling apart in your fingers. Dunking too long is the single most common reason this style of dessert turns into a wet mess by morning instead of holding its shape when sliced.
Frequently Asked Questions
Can I use decaf espresso instead?
Yes. Decaf espresso from a Nespresso pod or any stovetop method soaks the ladyfingers exactly the same way. The only thing that changes is caffeine content, not texture or flavor.
Do I have to use vanilla protein powder?
Vanilla gives the cleanest flavor match for tiramisu, but an unflavored powder works too if vanilla extract is bumped up slightly to compensate for the lost sweetness and aroma.
How long does this keep in the fridge?
Covered tightly, it holds up well for three to four days. The ladyfingers continue softening slightly each day, so it’s at its best texture on day one or two after the overnight chill.
Can I skip the overnight chill and just do a few hours?
A few hours firms the filling somewhat, but the espresso won’t fully penetrate the ladyfingers in that time. The layers end up with a dry center and a soggy edge instead of an even soak, so the overnight rest is worth the wait.
Once the dish comes out of the fridge, the cocoa dusting is the last step, sifted over the top through a small mesh strainer so it lands even and light rather than clumped in one corner. A sharp knife wiped clean between cuts keeps the nine slices looking as neat as the layers underneath.
Recipe Card
Nutrition values are good-faith estimates and vary with the exact brands and quantities you use.
Ingredients
- 24 ladyfinger cookies (or gluten-free equivalent)
- 1.5 cups brewed espresso, cooled
- 1 cup light cream cheese
- 2 scoops (about 60g) vanilla protein powder
- 1/4 cup honey
- 1 tsp vanilla extract
- 2 tbsp cocoa powder, for dusting
Instructions
- Beat the light cream cheese, protein powder, honey, and vanilla extract together until smooth.
- Quickly dip each ladyfinger in the cooled espresso, just enough to soak without turning soggy, and arrange a layer in an 8x8-inch dish.
- Spread half the protein cream mixture over the ladyfingers.
- Repeat with a second layer of dipped ladyfingers and the remaining cream mixture.
- Cover and refrigerate overnight so the layers set and the flavors meld.
- Dust with cocoa powder just before serving and cut into 9 pieces.